
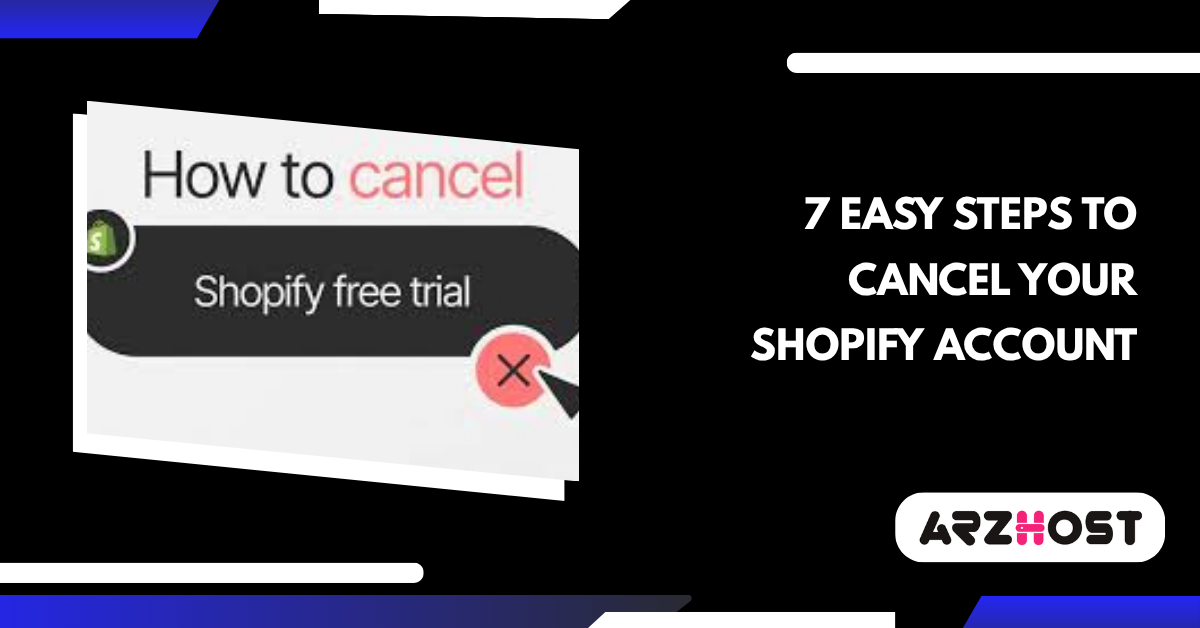
Introduction: How to Cancel Your Shopify Account
Shopify is a popular e-commerce platform that helps businesses set up and manage online stores.
Whether you’re closing your business, switching platforms, or just taking a break, you might need to cancel your Shopify account.
For more tips and resources to help you manage your online presence, check out the Resources or Blogs at ARZ Host.
Here’s a step-by-step guide to help you through the process of canceling your Shopify account effectively.
Considerations Before Cancelling Your Shopify Account
Before you proceed with canceling your Shopify account, it’s important to review a few considerations:
- Data Backup: Ensure you have backed up all important data, such as customer information, order history, and product details. Once you cancel your account, you will lose access to this data.
- Unfulfilled Orders: Check if there are any pending orders or transactions that need to be completed.
- Apps and Integrations: Review any third-party apps or integrations you have. You may need to cancel or transfer these services separately.
- Subscription Charges: Be aware of any outstanding charges or payments that might be due.
7 Easy Steps to Cancel Your Shopify Account
Here’s a step-by-step guide to help you through the process of canceling your Shopify account quickly:
Step 1: Log In to Your Shopify Admin Dashboard
Begin by logging into your Shopify account. Open your preferred web browser and go to the Shopify login page.
Enter your store’s URL, email address, and password to access the admin panel. Once logged in, you’ll be directed to the Shopify dashboard, where you can manage all aspects of your store.
Ensure you’re logged in with the account that has the necessary permissions to cancel the store.
If you’re unable to log in, verify your credentials or reset your password through the “Forgot password” link.
Step 2: Navigate to Account Settings
In the Shopify admin panel, look for the “Settings” option usually located at the bottom left corner of the dashboard.
Click on “Settings” to open a menu with various administrative options. From the settings menu, select “Plan” or “Account” (the name may vary depending on your Shopify plan).
This will direct you to the section where you can manage your account details, including the store’s subscription plan and billing information.
It’s essential to have a clear view of your current plan and any associated billing details before proceeding.
Also If you’re looking for more affordable solutions for your online business, consider exploring Budget Friendly Web Hosting Options that can help you save on costs without sacrificing performance.
Step 3: Access the Store Status Section
Within the “Plan” or “Account” settings, locate the “Store status” section. This area provides options related to the status of your store, including canceling or pausing the store.
Click on the “Store status” option to view the current state of your store and available actions. If your store is currently active, you will have the option to proceed with cancellation.
This section might also provide details about what happens when you cancel, including any remaining subscription periods and access to your data.
Step 4: Choose the Cancellation Option
Once you access the “Store status” section, you will see options for either pausing or closing your store.
Select the “Close store” option to begin the cancellation process. Shopify will guide you through a series of prompts and may ask you to confirm your decision to ensure that you are aware of the implications.
Follow the on-screen instructions to move forward with closing your account.
Be sure to review any warnings or information provided about the impact of cancellation on your store’s data and ongoing charges.
Step 5: Provide a Reason for Cancellation
During the cancellation process, Shopify will prompt you to provide a reason for closing your store.
This step is optional but helps Shopify understand user experiences and potential issues. Choose the reason that best describes why you are canceling, such as “no longer needed,” “difficult to use,” or “too expensive.”
Providing feedback is valuable and can help Shopify improve its services. After selecting your reason, you may be asked to provide additional comments or details.
Complete this section and proceed to the next step.
Step 6: Confirm the Cancellation
After providing a reason for cancellation, Shopify will ask you to confirm your decision.
Review all the details of your cancellation request, including any remaining charges, the end date of your subscription, and the impact on your data.
Confirm that you understand the consequences of canceling your store. You may be required to enter your password again to verify your identity.
Once you have reviewed and confirmed your choice, proceed by clicking on the final confirmation button to officially submit your cancellation request.
Step 7: Receive Confirmation of Cancellation
After completing the cancellation process, Shopify will send a confirmation email to the address associated with your account.
This email will serve as a record of your cancellation and may include details about the end date of your subscription and instructions for any remaining steps.
Check your email inbox for this confirmation and retain it for your records. If you do not receive the email, verify that you entered the correct email address and check your spam or junk folder.
Ensure that your store has been properly closed by checking your Shopify admin.
Post-Cancellation Steps
After canceling your Shopify account, follow these post-cancellation steps:
- Verify Account Closure and Data Deletion: Ensure that your store data has been removed from Shopify’s servers.
- Contact Support if Needed: If you encounter any issues or have questions after cancellation, contact Shopify’s support team for assistance.
- Check for Refunds: If you were on a paid plan, review Shopify’s refund policy to see if you’re eligible for a refund for unused time.
Conclusion: Final Thoughts on Canceling Your Shopify Account
Canceling your Shopify account is a straightforward process, but it’s important to ensure that all necessary steps are taken to protect your data and avoid any unwanted charges.
By following this guide, you can effectively cancel your Shopify account and transition smoothly, whether you’re closing your business or moving to a different platform.
If you have any concerns or need further assistance, Shopify’s customer support team is available to help with any additional queries you might have. For more insights and resources, visit the ARZ Host and explore our web hosting solutions.
FAQs (Frequently Asked Questions)
1: How do I cancel my Shopify account?
To cancel your Shopify account, log in to your Shopify admin panel. From the Shopify admin, click on Settings at the bottom left corner. Next, select Plan from the list of settings options.
In the Plan and Permissions section, scroll down and click on Deactivate store. Follow the on-screen instructions to confirm your decision.
You’ll need to enter a reason for cancellation and then click on Deactivate now to complete the process. Make sure to review any outstanding charges or obligations before proceeding.
2: Will I be charged if I cancel my Shopify account?
If you cancel your Shopify account before the end of your billing cycle, you will not receive a refund for the current month, as Shopify’s policy is to charge for the full month.
However, if you are on a trial plan, you won’t be charged if you cancel before the trial period ends. Be sure to check for any additional charges for apps or services you have used, as these may also affect your final billing.
3: What happens to my store data after cancellation?
Once you cancel your Shopify account, you will lose access to your store’s data. This includes customer information, order history, and product details.
Shopify recommends exporting any important data before deactivating your store.
You can export your data through the admin panel by going to Settings > Export to save information like customer lists and order details to your computer.
4: Can I reactivate my Shopify account after cancellation?
Yes, Shopify allows you to reactivate your account within a certain period after cancellation. If you decide to come back to Shopify, you can contact Shopify support to discuss reactivation options.
Keep in mind that reactivating an account might not restore all previous settings or data, so it’s important to verify what can be recovered when you reach out to support.
5: How do I cancel my Shopify account if I forget my login details?
If you forget your login details, you’ll need to recover your account before you can cancel it.
Go to the Shopify login page and click on Forgot password? to reset your password.
Follow the instructions sent to your email to regain access.
Once you’re logged in, follow the steps mentioned in the first FAQ to cancel your account. If you continue to have issues, contact Shopify support for assistance.
6: Are there any alternatives to canceling my Shopify account?
If you are unsure about canceling your Shopify account but want to pause your store temporarily, you might consider putting your store on pause instead.
Shopify offers a Pause and Build plan, which allows you to pause your store while retaining access to it for updates and maintenance.
This option can be useful if you’re not ready to completely close your store but want to take a break from active selling.
To explore this option, go to Settings > Plan and look for the Pause and Build plan details.
Latest Posts: