Connect To VPS Using SSH Brilliant 3 Step Connection Guide

Introduction

The standard way to access your VPS is through SSH. SSH stands for Secure Shell. It is a way to create an encrypted tunnel from your computer to the virtual private server so that no one can intercept your data. Once you Connect To VPS Using SSH you are basically sitting at the command line of that machine. This allows you to run Linux commands, install packages, edit configuration files, and run any standard maintenance tasks. 

Most hosting providers keep the SSH service on by default. System administrators and developers tend to use SSH within their every day job to take ownership of their virtual environments. As an illustration, a Windows laptop will be able to connect to the VPS via an application known as PuTTY. In a Mac or Linux you can also use a built-in terminal application to use SSH.

A proper knowledge of how to create SSH keys, how to handle users and how to amend the firewall properties can prevent embarrassing connection glitches or leaving an open security door. That is why it is not merely a first step to know the fundamentals of SSH. It gives the background to work on more advanced server administration tasks such as automation using shell scripts, configuring either Apache or Nginx, or a web application stack.

What is SSH? 

SSH is a short form of Secure Shell and it is a Secure Means of Connecting to a Remote Server through the internet.. It encrypts your connection and therefore your data cannot be read when passing through the open internet. Many older tools like Telnet only provided the ability to connect but did not provide any encryption to keep your data safe while in transit. 

Your computer is the SSH client and the remote computer, or server, is an SSH service. The collaboration between the SSH client and the SSH server forms a secure tunnel through which you can log in, execute Linux commands in it, or transfer files using either the SCP or SFTP command tools.

Most administrators would find the security of SSH keys more secure than passwords when it comes to authenticating with SSH. This is important because SSH then becomes the standard for managing VPS hosting and dedicated servers.

Remote Work Made Easy

Secure & Fast Window VPS by ARZ Host– Start for Just $18/month with Our Limited-Time Offer.

Click Here

Understanding the Prerequisites for SSH Connection to a VPS

Before you proceed, it is helpful to understand what you will need for a successful, clean SSH connection. If you skip this, you may run into login problems or leave your VPS wide open to unfettered access. A little bit of effort to understand the underlying requirements will save you from postmistakes down the line.

What You Need Before Connecting

Make sure you have these items in place before you try to reach your virtual private server with SSH:

  • A VPS instance with SSH enabled. Hosting companies like ARZ Host, DigitalOcean, or Linode will have this on by default, allowing you to log in right after deployment.
  • The IP of your server or DNS hostname, so your SSH client knows exactly where to make a connection.
  • An SSH client on your computer. MacOS or Linux users already have the terminal, whereas Windows users should generally use PuTTY, or Windows Terminal.
  • Correct login information. Generally, this means a root/admin username, plus a password or SSH key you created beforehand (generating the key is also explained below)

Security Considerations Before You Connect

Locking down your VPS begins long before you log into your account. These are some of the things to consider in order to have a safe setup:

  • Use a good password, or better still, create SSH keys. Keys offer better security, and save time in connecting.
  • Both passwords and keys work, however, SSH keys are really the standard for protecting secure remote administration. Understanding how to generate and use SSH keys is worthwhile.
  • Setup firewall rules, or use tools like fail2ban. This way your server is protected from automated brute force attempts, where a bot tries to login continually.

Step-by-Step Guide to Connecting to a VPS Using SSH

The first step is knowing how to connect. Getting everything correct will provide a seamless experience and avoid confusion.

How to Connect from Linux or macOS Terminal

  • Step 1: Open your terminal app. It is located in your applications under search of the word Terminal.
  • Step 2: Enter ssh username@vps-ip-address. Instead of username replace it with your vps user such as root and instead of vps-ip-address replace it with your server IP. So this command instructs our computer to initiate a secure shell session with that user on that server.
  • Step 3: The first time you have connected with it, you will see the fingerprint of the server.Check this fingerprint against the fingerprint the hosting provider gave you like ARZ Host, DigitalOcean, or Linode. If it matches then you can trust the server so type simply “yes” to continue.
  • Step 4: In case of password authentication, correctly insert your password. When you have configured a SSH Key, the terminal will automatically compare your private key.
  • Step 5: Logging into your account will make the command line prompt change to your VPS. That is when you will be able to control Linux services, install software or modify a configuration remotely.

Using PuTTY to connect with Windows.

Windows lacks an inbuilt SSH client and therefore requires an application to work with the server. PuTTY is a common connection tool among many people. The following is the way to install and use PuTty:
  • Step 1: Download the PuTty application according to your choice of the web site and install it. You should also ensure that you download it on a legal site so that your SSH connection is safe.
  • Step 2: PuTTY will start, you need to put the IP address of the VPS in the Host Name box. Make sure that you have the port configured to 22 unless you are using some other port of SSH.
  • Step 3: To save your session, give it a name to Saved Sessions and press on save. This will enable you to reconnect with them in the future with ease! Make sure that the box with the option of Connection type is SS.
  • Step 4: Click “Open”. It will open a terminal window, and request your VPS username (usually root). Enter your username and press enter, enter your password when prompted.
  • Step 5: In the case that you’re connecting with your VPS with SSH keys, you need to inform PuTTY of your private key file.. To do this click on “Connection” -> “SSH” -> Auth. You can now click on “Browse”, browse to your private key file (.ppk) and select it. PuTTY now knows to automatically log you in using the private key file.
  • Step 6: After a moment, once your connection has completed, you should be seeing the VPS command prompt. You’re now connected, and you can run commands, manage Apache or Nginx, perform updates and manage the server from anywhere.
Creating and Using SSH Key Pairs for Secure Access

Creating and Using SSH Key Pairs for Secure Access

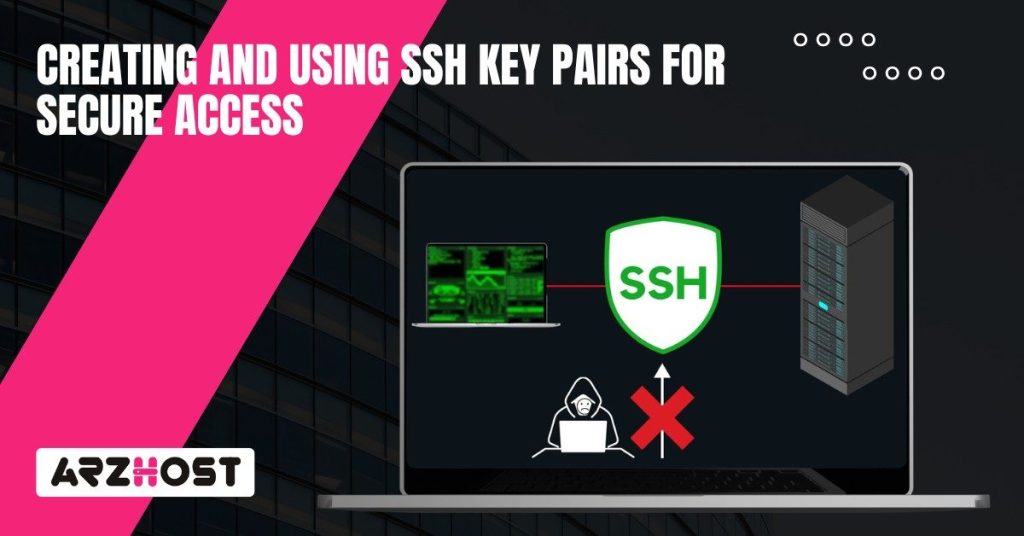
Using SSH keys provides a serious security benefit when logging into your VPS. Key relies on cryptography to ensure that you do not have to type a password each time you access your VPS because it is far more difficult to crack. This is the reason as to why SSH key authentication is commonly favored by sysadmins and developers. It also reduces risk, and enables you to automate your process of logging in without opening up to potential security attacks.

What is SSH Key Authentication and Why Use It?

SSH key authentication uses a pair of keys: 

  • Private key that you keep securely on your computer 
  • Public key that you place on your VPS server. 

When connecting, the server checks that the key that you have is the same as the one linked to your account. This is done quietly in the background, and keeps the data transferred during your connection secure. Keys are more secure than passwords against brute force attacks and guessing attempts. They also make scripting and automated tasks smoother. You can log in securely without exposing the password or any sensitive information

How to Generate SSH Key Pairs. 

The generation of the SSH keys is a simple task regardless of whether you are on a Linux computer or MacOS or Windows.

For Linux/macOS:

  • First, open your terminal and run the ssh-keygen in order to begin to create your SSH keys.
  • You are now going to select a key type. ED25519 is quick and safe, hence is a good option.
  • Then you can use a passphrase which is optional and provides more security or you can leave it blank which is more convenient.

For Windows:

  • Download and open PuTTYgen. PuTTYgen is a dedicated application for generating SSH key pairs. 
  • Choose what key type you want to create and press “Generate”.
  • When asked to move your mouse around to add randomness, please do so.
  • When finished, you will want to save your private key as a .ppk file and also copy the public key text to later upload to your VPS.

How to Upload Public Key to VPS

In order to enable password-less login, you need to get your public key on the server. 

  • On linux/macOS, the easiest way to do that is with ssh-copy-id username@vps-ip-address which will place your public key in the server’s authorized_keys file for you. 

If you don’t have ssh-copy-id , then do it manually:

  • The .ssh folder must be created at home in your VPS first (in case of need): mkdir -p /home/.ssh.
  • Second, open and/or create using a text editor (nano or vim).
    • ~/.ssh/authorized_keys
  • Third, cut and paste in your public key then save.
  • Fourth, configure adequate file permissions:
    • chmod 700 ~/.ssh
    • and
    • chmod 600 ~/.ssh/authorized_keys
  • Now your keys to SSH are prepared. You will be able to first log-in safely, run commands, communicate with Apache or Nginx, scp files, and make any updates you desire, and do all of this without entering your password each time.

Related Article: Fix Putty Fatal Error Connection Refused on Windows

Common SSH Connection Troubleshooting.

The attempt to connect using SSH may have bumps on the way. But the majority of the problems are normally simple to resolve. Being aware of what you should be looking at, and what you should do is sure to save you time and disappointments when something does go astray.

Connection Refused or Timed Out

In case your SSH client is not connected to the VPS, the first thing to do is to ensure that the server is running.

  • Status Check the SSH service with systemctl status sshd. If it is inactive, restart it. 
  • Then check that your network is allowing connections on port 22, if you didn’t change it. 
  • Port 22 may be blocked by an active firewall and/or a cloud group by provider. Firewalls can block the port causing refusals or timeouts.
  •  Re-check the rules and network configuration.

Permission Denied Errors

“Permission denied” / “Access denied” typically indicates some kind of authentication problem. 

  • Make sure the username matches that on the server 
  • Ensure that the method of login is correct; either password or ssh key. 
  • When using keys, be sure to verify permission on your local key file.
  • To fix the permission, it should be run as chmod 600 ~/.ssh/id_rsa
  • In case permission is slack, SSH will always reject the key.

Host Key Verification Failed

This message appears if the SSH key for the server has been changed. Potentially after you rebuilt the VPS (or maybe it was compromised). 

  • The SSH stores known host keys locally for your safety. 
  • The easiest way to fix it is to generate a new host key by the ssh-keygen -R vps-ip-address command.
  • Then, connect back to the server, and accept the new fingerprint.
  • Make sure to always verify it with your VPS vendor in order to avoid any security risks.

Debugging SSH with Verbose Mode

Should the connection still be acting up, use verbose mode.

  • Use type ssh -v username@vps-ip-address to view a step by step log of the actual processes taking place.
  • You can go into even more detail with ssh -vvv.
  • These logs will give you information on whether it is during authentication, network handshake or key verification to find the problem easily.

Take Your WordPress Site to New Heights

Optimized for WordPress—Get Your Hosting Plan at just $0.99/month.

Click Here

Conclusion

SSH is your gateway to safely and easily controlling your VPS. If you know how to connect, with a password or SSH key, you can manage Linux servers or cloud instances without much friction. Any connection issues you encounter will not deter you since most connection issues have clear resolution paths. The use of verbose mode, in addition to SSH’s other outputs, provides information on exactly where the connection (or other issues) are breaking down.

With the help of SSH keys, access will be locked down and much of the risk associated with passwords will be eliminated. Also always remember, if you discover a fix or a trick, it is a pretty good idea to share this information with the community.

As soon as your website is live through ARZ Host you will have a full-fledged, tailor made web address that appears much more professional and personalized than a random link.

FAQs 

Is it possible to SSH into a VPS without a password?

Yes. SSH key authentication allows you to leave out typing a password to get in. Your personal key on your machine is matched with the public key on the VPS hence the connection occurs automatically and is secure.

How to connect to VPS when the ssl port is altered?

All you need to do is to use the -p command when starting your SSH command such as ssh -p custom-port username@vps-ip-address. The new port number should be entered into the Port field in PuTty and then the connection should be made. This is quite compatible with Linux, Mac OS, and Windows configurations.

Are several people allowed to use the same VPS through SSH?

Absolutely. Every user is allowed to possess his or her username and SSH keys. The VPS also handles access independent of each other and therefore more than one developer or an administrator can be logged in and working simultaneously without interference with the other.

What is the best way to share SSH access with other people?

The most secure measure is to insert their public SSH key in the authorized keys file of their account. Do not reveal the keys or passwords. More control is possible as well by creating individual user accounts with restricted permissions.

What in case I lose my SSH private key?

In the event that you lose your private key, you cannot use it to log in; use a password or another authorized account to access the VPS, delete the lost key in the authorized keys, and create another new pair of keys. This recovers secure and hassle free access.

Latest Posts:

Table of Content