Introduction: Understanding DNS Zones and Their Importance
Purchasing a domain with Namecheap makes you feel like the work is finished: you have the name, you have parked it, and now it belongs to you. However, having a domain is only the beginning. In case you plan to actually use such a domain as a site, email, or some 3rd-party service, a couple of things are going to have to be adjusted. That’s where Managing DNS Zone on Namecheap comes in.
DNS settings simply instruct the internet on what to do with your domain. It will either load a web page, forward emails or even connect to another application, but it will all depend on the DNS zone. And when you have no idea how to take care of those records, things are going to get disorganized quickly. Any mistake in the wrong field, and your emails either bounce, or your site goes dead. Namecheap provides you with all of it, but you need to know where to find it and what each part entails.
The average user will only access their DNS settings when something goes wrong or has to be configured. But it doesn’t hurt to get familiar with it now before that happens. Once you get a feel for how it works, it’s not nearly as complicated as it looks — and it gives you a lot more control over your domain than you might think.
What Are DNS Zones and Record Types: Key Definitions and Uses
Before changing anything in your DNS settings, it helps to actually know what you’re looking at. A DNS zone is basically a collection of settings that control how your domain behaves. It tells the internet, “Hey, send visitors here, send email over there, and if someone’s checking ownership, here’s the proof.” All of that is handled through records stored in your zone.
Let’s go over the ones you’ll probably run into on Namecheap:
- NS (Nameserver) records: These determine the control of your DNS settings. When your domain runs on the Namecheap nameservers, you will operate everything via their panel. Modify the NS records, and you are delegating control to another party- such as a web host or external DNS provider.
- A record: This one’s super common. It links your domain/subdomain to an IP address- most of the times where your web site resides. Hence when a person enters your domain, the A record will direct the browsers.
- CNAME records: These are used to point to another domain name. They can be useful in things such as redirecting www.yourdomain.com to just yourdomain.com or services such as blog sites.
- MX records: These handle email. If you’re setting up email through Gmail, Outlook, Zoho, or whatever else, this is where you plug in their mail servers.
- TXT records: They look messy, but they’re used for verification and security stuff. Think domain ownership checks, email authentication (SPF, DKIM), and connecting to third-party tools.
- AAAA records: Basically the same as A records, but for IPv6 addresses. You’ll usually only use this if your hosting provider gives you one.
- SRV records: A bit more advanced. These are for specific services like VoIP or messaging apps (like Microsoft Teams). You’ll usually be told exactly what to enter if you ever need one.
Related Article: Where to Find ARZ Host Nameservers
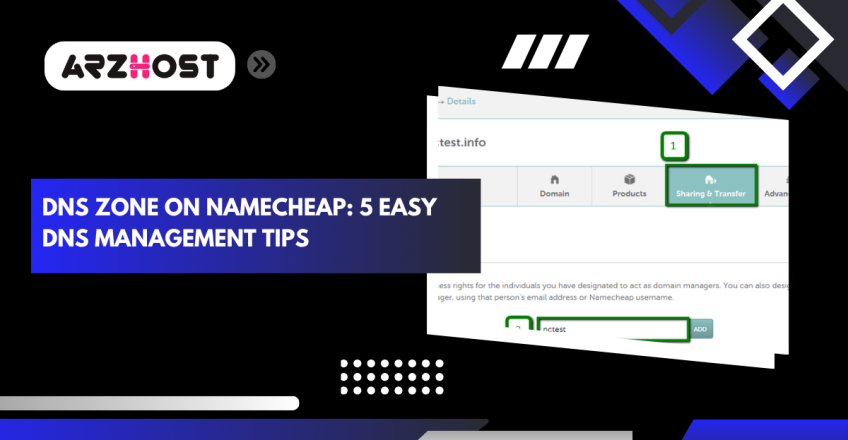
Accessing DNS Zone Management on Namecheap: Navigation and Setup
It is also very easy to get to your DNS settings on Namecheap, although you have to know where to click to get there. The first time you do this, it may take another second to get where you need to be. This is the way to arrive there without any guess work.
- Enter your Namecheap account: You can visit namecheap.com, then use the login button in the upper right-hand corner, and log in using your normal account.
- Go to the Domain List: You should find it on the left of your dashboard when you are logged in. Click on Domain List — that’s where all your domains are listed.
- Find your domain and hit Manage. Browse your list until you locate the domain that you wish to update. Click Manage on the right of it. That will open the settings of that particular domain.
- Click the Advanced DNS tab: There is a tab named Advanced DNS on the top of the page. Here all the DNS records are stored A, MX, CNAME, TXT and so on. Just click it and you can now see, add or edit any records you require.

Managing DNS Records: Essential Administrative Tasks
Once you’ve found your way to the Advanced DNS tab in Namecheap, this is where you can actually start making changes. Whether you’re connecting your domain to a website, setting up email, or verifying ownership with a third party — it all happens here. The layout’s pretty simple once you get the hang of it.
Adding New DNS Records
- Pull down to the list of your existing records.
- Click the button titled Add New record which is positioned, by default, on the bottom of the list).
- Choose the kind of record in the dropdown A, CNAME, MX, TXT, etc.
- Fill in the fields:
- Host – usually “@” for the root domain or something like “www” or “mail” for subdomains.
- Value/Target – this is where the record points to. It could be an IP address, domain, mail server, or text string.
- TTL – you can usually leave this on automatic unless told otherwise.
- In order to implement the change, click the green checkmark or Save.
Editing Existing DNS Records
- In the list, find the record that you want to change.
- Click the small edit button. It looks like a pencil.
- Adjust the values.
- Again, save your changes.
- Editing MX and A records should be done with caution, even minor changes can cause things to break unless properly entered.
Deleting DNS Records
Go through your list and locate the record that you would like to delete.
On the right side of the record, click the trash can.
You would be required to confirm and therefore, before hitting delete make sure you check it twice.
Deleting the incorrect record may destroy email or put your site offline, hence it will be important to save stuff or take a screenshot, first.
Conclusion: Best Practices for Effective DNS Management on Namecheap
The process of learning how to use your DNS zone at Namecheap may seem somewhat technical, yet once you familiarize yourself with it, it is actually rather simple. The rest of the work is reduced to knowing what each record is and being cautious when changing things. You will not have to do it on a daily basis, but when it counts, such as connecting a new site or creating email, then it helps to know what you are getting into.
The best part is that the layout of Namecheap makes it easy to understand once you have done it once or twice. All you need to keep in mind is to take your time, check entries before saving, and (scattergun) when in doubt, leave it alone, either look it up or save the existing settings before touching anything.
Operating your DNS is a component of real ownership of your domain. It lets you have control over all the connections and prevents overdependence on support tickets and/or just waiting around when something fails.
Boost your online visibility with ARZ Host cutting-edge offerings that will help your website load quickly and offer a flawless user experience.
FAQs (Frequently Asked Questions)
What would be the consequences of putting the wrong information in a record?
It only typically means that your site or email will soon not work until it is repaired. Nothing lasts forever but it can be a headache. These values should always be verified twice before being saved, particularly IP addresses and MX records.
What is the DNS time lag?
It may be a few minutes, or a couple of hours. That is subject to your TTL configuration and the caching of things. Simply wait till it does not update immediately.
Is it possible to use Namecheap DNS with the hosting provided by another company?
Yes. You have the option of retaining your domain at Namecheap and simply make it point wherever your web site or email is located. It is quite usual, in fact.
What are the differences between A and CNAME records?
An A record is used to link your domain to an IP address and a CNAME to a domain or a subdomain. They are both useful, only under different circumstances.
Can we erase past records that I do not recognize?
Unless you are certain that they are not in use. In any case, screenshot or jot down the values of anything that was questioned and then delete.
Can I undo DNS changes?
You are not provided with any undo button but can re-enter the old values provided you can remember them. That is why it is so good to copy your present records and keep it somewhere before making any changes in case.
Read More: