
Understanding How to Insert Cells in Excel Using Different Methods
Microsoft Excel provides various ways to manipulate data, and shifting cells right is a fundamental skill for organizing your spreadsheets. This guide will walk you through the process of How to Shift Cells Right in Excel, whether you’re working with a small dataset or a large table.
We’ll cover multiple methods, including using Excel’s built-in features and keyboard shortcuts. For More Guides and Articles like this, Make sure to Subscribe to our Blog.
1: Using the Cut and Insert Method in Excel
Step 1: Select the Cells to Cut
- Open your Excel worksheet.
- Click and drag to select the cells you want to shift right. For example, if you want to shift cells in column A to the right, select the cells in column A.
Step 2: Cut the Selected Cells Using a Keyboard or Mouse
- Right-click on the selected cells.
- Choose “Cut” from the context menu, or press Ctrl + X on your keyboard.
Step 3: Select the Destination for the Cut Cells
- Click on the first cell in the column where you want the data to be moved. For instance, if you want to move the data from column A to column B, click on the first cell in column B where the data should begin.

Step 4: Insert Cut Cells into the New Location
- Right-click on the destination cell.
- Select “Insert Cut Cells” from the context menu. This action will move the selected cells to the right and shift the existing cells accordingly.
Related article: How to Insert Word Documents into PowerPoint
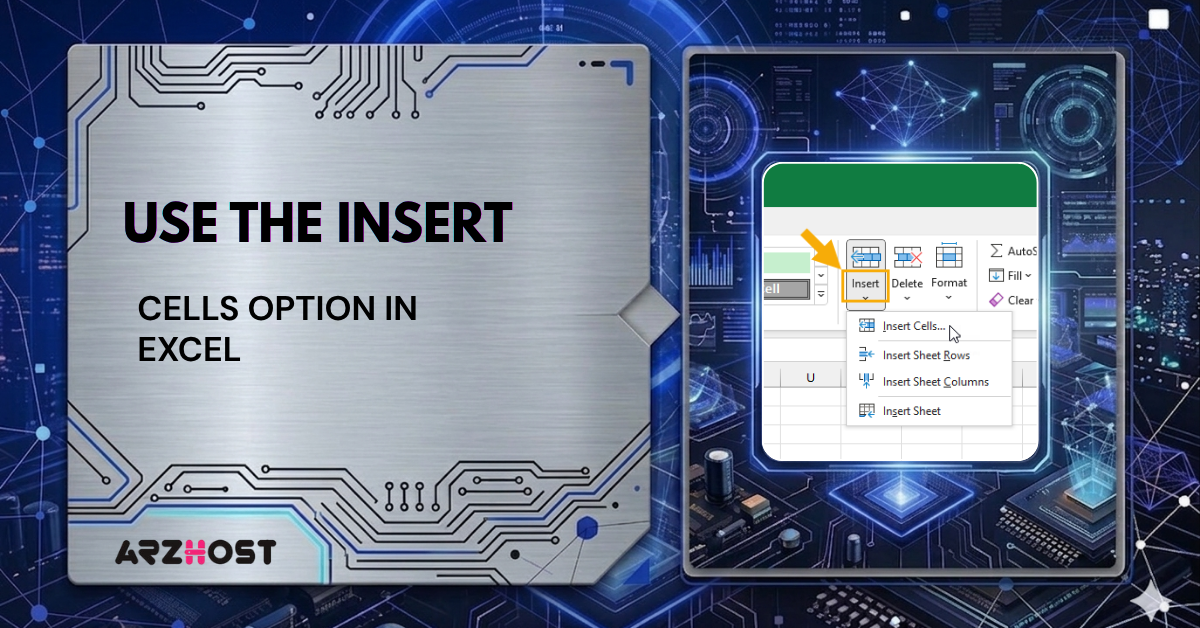
2: Use the Insert Cells Option in Excel
Step 1: Select the Cells to Insert
- Open your Excel worksheet.
- Highlight the cells you wish to shift to the right.
Step 2: Right-click and Access the Insert Option
- Right-click on the selected range of cells.
- Choose “Insert” from the context menu. A dialog box will appear.

Step 3: Choose the Shift Cells Right or Down Option
- In the dialog box, select the “Shift cells right” option.
- Click “OK.” The selected cells will move to the right, and the cells to the right will be pushed further right.
3: Using Excel’s Fill Handle for Quick Data Insertion
Step 1: Select the Cells for Data Insertion
- Open your Excel worksheet.
- Click and drag to select the cells you want to move.
Step 2: Use the Fill Handle to Drag and Insert Data
- Place your cursor on the bottom right corner of the selected range. The cursor will change to a small black cross (known as the Fill Handle).
- Drag the Fill Handle to the right into the adjacent cells where you want the data to shift.
Step 3: Release the Mouse Button to Confirm Data Insertion
- Release the mouse button. The data will fill the selected cells, pushing any existing data to the right.
Looking to buy Affordable and Reliable Web Hosting? You might want to look at our article on the Cost of Web Hosting & Affordable Options.

4: Using Excel’s Keyboard Shortcuts for Inserting Cells
Step 1: Select the Cells to Move or Insert
- Open your Excel worksheet.
- Highlight the cells you want to shift to the right.
Step 2: Use Excel Keyboard Shortcuts for Quick Cell Insertion
- Press Ctrl + X to cut the selected cells.
- Move to the destination cell where you want the data to start.
- Press Ctrl + Shift + + (Control + Shift + Plus Sign) to open the Insert dialog box.
Step 3: Shift Cells Right or Down Based on Requirement
- Choose the “Shift cells right” option.
- Press “Enter” or click “OK.” The cells will be shifted to the right, and the existing data will be moved accordingly.
5: Using the Excel Ribbon for Inserting Cells
Step 1: Select the Cells for Ribbon Action
- Open your Excel worksheet.
- Highlight the cells you wish to shift to the right.
Step 2: Access the Insert Cells Option from the Excel Ribbon
- Go to the “Home” tab on the Excel Ribbon.
- Click on the “Insert” drop-down menu in the “Cells” group.
Step 3: Insert Cells in the Desired Location Using the Ribbon
- Choose “Insert Cells” from the menu.
- In the Insert dialog box, select “Shift cells right.”
- Click “OK” to shift the cells right and move existing data.
Conclusion
Shifting cells right in Excel is a straightforward process that can be accomplished using various methods, depending on your preference and the situation.
Whether you use the Cut and Insert method, the Insert option, the Fill Handle, keyboard shortcuts, or the Ribbon, these techniques will help you manage and organize your data efficiently.
By mastering these methods, you’ll be able to make adjustments to your spreadsheets with ease, improving your productivity and ensuring your data is always presented accurately.
For Scalable and Reliable Hosting Services & Resources, Visit our Website, ARZ Host.
FAQs (Frequently Asked Questions)
1: How do I shift cells right in Excel without affecting other cells?
To shift cells right in Excel without affecting other cells, follow these steps:
- Select the Cells: Highlight the cells you want to shift. You can select a single cell, a range, or entire columns.
- Right-click and Choose “Insert”: Right-click on the selected cells, and from the context menu, choose “Insert.”
- Select “Shift Cells Right”: In the “Insert” dialog box, select the option “Shift cells right” and click “OK.”
This action will move the selected cells to the right, inserting new cells in their place. Other cells in the row will be pushed to the right to accommodate the shift.
2: Can I shift entire columns or rows to the right in Excel?
Yes, you can shift entire columns or rows to the right in Excel. Here’s how:
- Select the Columns or Rows: Click on the column letter(s) or row number(s) to select the entire column(s) or row(s) you want to move.
- Right-click and Choose “Insert”: Right-click on the selected columns or rows and choose “Insert” from the context menu.
- Choose “Shift Cells Right”: If you’re shifting rows, Excel will automatically shift cells down. For columns, select “Shift cells right” in the “Insert” dialog box, and click “OK.”
Excel will insert a new column or row and shift the existing ones to the right.
3: How do I shift cells right using a keyboard shortcut?
To shift cells right using a keyboard shortcut:
- Select the Cells: Highlight the cells you want to shift.
- Press Ctrl + Shift + +: This keyboard shortcut opens the “Insert” dialog box.
- Choose “Shift Cells Right”: In the dialog box, ensure “Shift cells right” is selected and press “Enter.”
This shortcut quickly opens the insert options, allowing you to shift cells right without using the mouse.
4: What happens if I shift cells right and there are existing data in those cells?
If you shift cells right and there is existing data in the target cells, the data in the target cells will be overwritten. Excel will move the selected cells to the right, and any data in the way will be displaced or lost, depending on whether it is within the same row or column.
To avoid data loss, ensure that the target area is empty or that you’ve backed up important data before performing the shift.
5: How can I shift cells right and keep the formatting intact?
To shift cells right and keep the formatting intact:
- Select the Cells: Highlight the cells with the formatting you want to maintain.
- Copy the Cells: Press Ctrl + C to copy the selected cells.
- Paste Special: Select the destination where you want to shift the cells. Right-click and choose “Paste Special” from the context menu, or press Ctrl + Alt + V.
- Choose “Formats”: In the “Paste Special” dialog box, select “Formats” and click “OK.”
By pasting only the formats, you ensure that the original cell content is moved while preserving the formatting of the destination cells.
Read More: