
This guide will explain how to install Apache, a totally free, open-source, and wildly popular web server, on Centos 7 Apache Start. This setup will make it possible to test websites that are provided by the Apache web server.
- On CentOS 7, set up a non-root user with sudo rights.
- A CentOS 7 server update
- Set up a fundamental firewall in CentOS 7
Step 1: upgrade the server.
Run the following command to upgrade the Centos 7 Apache Start server:
yum update $
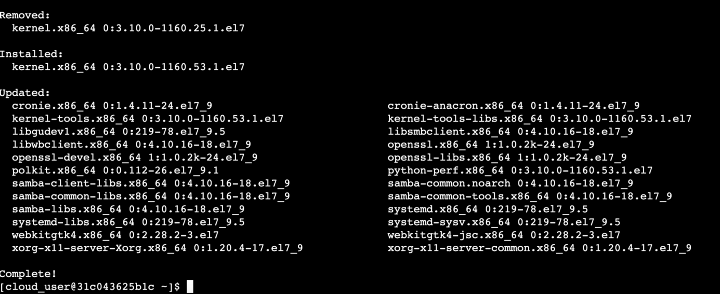
This command will guarantee that all software is current and running the most recent versions. It should just take a few minutes to complete. When you see the following output in the terminal, the updates are finished:
Step 2: Set up a fundamental firewall
This action enables Apache to send traffic across the Internet. To install the firewall, enter the command listed below.
Install firewalld with sudo yum.
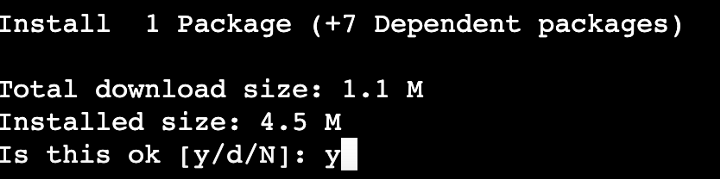
The user will be prompted for a password and permission to install relevant packages after entering this command and pressing “Enter”.
The installation is complete when the screen says “Complete!” Run the following command to enable the firewall next:
systemctl enable firewalld with sudo
Run the following command to launch the firewall:
systemctl start firewalld with sudo
Run a status check on the firewall using the following command to make sure it’s functioning properly:
systemctl status firewalld with sudo
The firewall should be listed as “active (operating)” in the output.

Step 3: Install Apache and set up the firewall
To install the web server, start by using the following command:
Yum install httpd with sudo
Once finished, use the following commands to set up the firewall to allow traffic to pass through HTTP (port 80) and HTTPS (port 443) by default:
the command line firewall-cmd —permanent —add-service=http$ Run firewall-cmd with the permanent and add-service options.
After each entry, hitting “Enter” ought to result in “success”. The user needs to perform a reload using the following command for the modifications to take effect:
firewall-cmd —reload in sudo
Step 4: Verify that Apache is active.
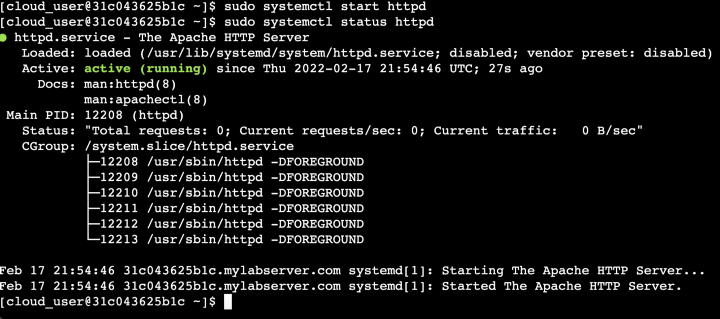
After refreshing the firewall and getting “success”, use the commands below to start Apache and verify that it is “active (running)”:
Systemctl start httpd with sudosystemctl status httpd $
The output will be as follows:
Step 5: Verify Apache is operating correctly.
Find the user’s public IP address using this command to check the connectivity of the Centos 7 Apache Start server:
curl ifconfig. me with sudo.
The next line of the report should show the public IP address.

Copy the IP address, then test it in the browser’s search box by typing http://your server. Public ip. The installation was successful after the test page appeared!
Related Article