Introduction: Understanding why to Disable Comments in WordPress
WordPress comments can be useful for encouraging user interaction and creating a sense of community on your website. Still, they can also become a haven for spam, dangerous links, self-promotion, and even rude comments.
Put differently, you must understand how to disable comments in WordPress. Remarkably, it’s simple to use WordPress’ disable comment function.
You can easily control the comments section of your WordPress website if you have the Administrator status. If needed, you even have the option to remove comments from any or all of the pages on your website.
Here are a few reasons why some website owners choose to turn off their comment sections:
- A comment box would not be necessary on a static page such as a landing page, product information page, or contact us page.
- There would be no need for a comment section on an announcement blog.
- Staying away from spam.
Let’s go over some of the reasons WordPress site administrators can decide to disable comments using WordPress.
Next at ARZ Host, we’ll go over how to use WordPress’s disable comment feature on single pages or posts, multiple pages or posts, your entire website, or just media resources.
How Can I Turn Off Comments on New WordPress Posts?
Managing comments on your WordPress site can be crucial for maintaining the quality and focus of your content. If you prefer to disable comments on new posts, WordPress provides a straightforward way to do so.
Here’s a step-by-step guide to help you turn off comments on new posts.
- Firstly, log in to your WordPress dashboard. If the Dashboard is not loading see ways to Fix the WordPress Dashboard not Loading Issue.
- From the dashboard, navigate to the “Settings” section located in the sidebar. Under “Settings,” click on “Discussion.” This will take you to the discussion settings page, where you can manage various aspects of your site’s commenting features.
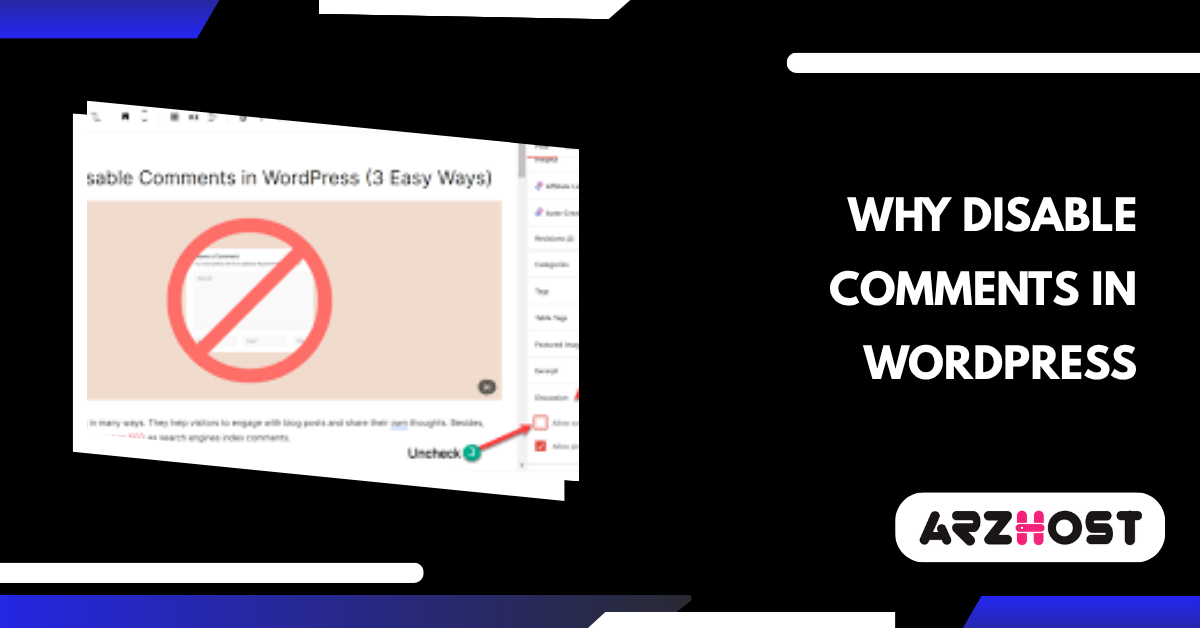
- On the discussion settings page, you will see a variety of options related to comments. To disable comments on new posts, uncheck the box labeled “Allow people to post comments on new articles.” This setting is usually checked by default, allowing comments on all new posts. By unchecking this box, you ensure that any new posts you create will have comments disabled by default. Remember to scroll down and click the “Save Changes” button to apply your new settings.
- It’s important to note that this change will not affect existing posts where comments are already enabled. To disable comments on individual existing posts, you will need to edit each post manually. Go to the “Posts” section in your dashboard, select the post you want to edit, and find the “Discussion” meta box in the post editor.
- If you don’t see the “Discussion” meta box, click on “Screen Options” at the top right corner of the screen and check the “Discussion” box. Then, uncheck the “Allow Comments” option and update your post.
By following these steps, you can effectively manage comments on your WordPress site, ensuring that your new posts remain free from unwanted comments while maintaining control over your site’s interaction settings.
How Can I Disable Comments on a Specific WordPress Page or Post?
Disabling comments on a particular page or post in WordPress can be achieved through several methods. Here are the steps to do it:
1: Disable Comments on a WordPress Page
WordPress does not allow comments by default for pages and posts. However, you may quickly and simply activate or disable them on pages or posts by following a few easy steps:
- To view the list of all the pages on the website, select Pages, followed by All Pages.
- Place your pointer over a certain page to select the Edit link.
- To show your editor’s properties pane on the right side, click the gear icon in the top-right corner of the page.
- To disable comments on the page, go down to the Discussion meta box and uncheck the Allow Comments box.
- For the changes to be saved, click Update.
2: Disable Comments on a WordPress Post
The procedures listed above can be used to deactivate comments on particular posts.
- To view the list of all postings on the website, click All posts.
- Tap the Edit link when you’ve selected a post.
- To prevent comments on the post, uncheck the Allow Comments box and follow the same procedures as on the blog page above.
By following these methods, you can easily disable comments on a particular page or post in WordPress. Choose the method that best suits your comfort level and the specific requirements of your site.
Why Disable Comments in WordPress? Key Reasons
Disabling comments in WordPress can be a strategic decision for various reasons. Here are the key factors to consider:
1: Effective Spam Management
- Reduced Spam: One of the primary reasons to disable comments is to avoid spam. Unmoderated comment sections can become flooded with irrelevant or malicious spam content, which can harm the credibility of your site.
- Less Maintenance: Managing and filtering out spam comments can be time-consuming. Disabling comments can free up your time to focus on more productive tasks.
2: Enhanced Website Performance
- Faster Load Times: Comments can add extra load to your server and slow down page load times. Disabling comments can lead to a faster, more efficient website, which is crucial for user experience and SEO. Check out our guide on SEO Optimization For WordPress Guide to Boost your Business.
- Lower Server Load: With fewer database queries required to handle comments, your server can run more efficiently.
3: Maintaining Content Focus
- Cleaner Look: Disabling comments can lead to a cleaner and more professional look for your site. This can be particularly important for business websites, portfolios, or any site where the focus should be on the content itself rather than user interaction.
- Enhanced Readability: Without the distraction of comments, visitors can focus entirely on the content of your posts and pages.
4: Reducing Moderation Efforts
- Time Savings: Moderating comments requires constant vigilance to ensure that inappropriate or harmful comments are not posted. Disabling comments eliminates this need, allowing you to allocate your resources elsewhere.
- Avoiding Legal Issues: In some jurisdictions, you may be held liable for defamatory or illegal content posted in your comments section. Disabling comments can help mitigate this risk.
5: Greater Control Over Discussions
- Guiding Conversations: By disabling comments on your WordPress site, you can guide discussions to other platforms where you can better manage and moderate them, such as social media or dedicated forums.
- Maintaining Professionalism: In certain industries, open comments can lead to unprofessional or negative interactions that could harm your brand’s reputation.
6: Focusing on Alternative Engagement Methods
- Encouraging Social Media Interaction: Instead of using comments, you can encourage visitors to engage with your content on social media platforms where discussions can be more easily managed and promoted.
- Email and Contact Forms: Directing users to contact you via email or contact forms can lead to more meaningful and manageable interactions.
7: Addressing Specific Use Cases for Comment Disabling
- Corporate Websites: For corporate or business websites, maintaining a professional image is critical. Disabling comments helps in keeping the website clean and free from potentially damaging comments.
- Portfolio Sites: Artists, photographers, and designers often prefer to let their work speak for itself without the distraction of comments.
8: Mitigating Security Concerns
- Reducing Attack Vectors: Comments can sometimes be used as a vector for attacks, such as through malicious links or code injections. Disabling comments can enhance the overall security of your site.
9: Prioritizing Quality Over Quantity in Comments
- Promoting High-Quality Engagement: By disabling comments, you can focus on creating high-quality content and promoting it through controlled channels, ensuring that the engagement you receive is more meaningful and relevant.
WordPress comment disabling is a calculated move that can improve site speed, cut down on spam and moderation time, and keep your site looking professional. You can learn more ways to increase site speed with our guide on Optimizing Your Website Speed for SEO rankings.
You can make sure that your WordPress website stays secure, interesting, and focused on the areas that are most important to your audience by comprehending the rationale behind this decision and carrying it out successfully.
How Can I Use WordPress’s Built-in Features to Disable Comments?
For a single page or post, for several pages and posts at once, or for your entire WordPress site, you can modify the default comment settings in WordPress. In the WordPress conversation settings, you can also adjust other parameters like comment moderation and comment notifications.
WordPress enables comments on posts but prohibits them on pages by default. This is because, while comments on content such as blog posts may still be desired, you probably won’t want them on your primary sites, such as your homepage.
Of course, you can also choose to disable post comments. You will learn how to complete all of that and more from us.
Disabling comments in WordPress can be useful for various reasons, such as preventing spam, maintaining a cleaner site, or simply because your content doesn’t require comments.
Here’s a detailed guide on how you can disable comments in WordPress:
1: Disable Comments for New WordPress Posts
To disable comments on all new posts and pages:
- Log in to your WordPress Dashboard.
- Go to Settings > Discussion.
- Uncheck the option “Allow people to submit comments on new posts.”
- This will prevent comments on any new posts or pages you create in the future.
- Save Changes.
2: Disable Comments on Existing WordPress Posts and Pages
If you have existing posts and pages where you want to disable comments, follow these steps:
- Log in to your WordPress Dashboard.
- Go to Posts or Pages (depending on where you want to disable comments).
- Select the posts or pages you want to edit.
- Use the checkbox at the top to select multiple items.
- Choose “Edit” from the Bulk Actions dropdown menu and click Apply.
- In the Comments section, select “Do not allow.”
- Update the posts or pages.
3: Disable Comments on Specific Posts or Pages in WordPress
To disable comments on individual posts or pages:
- Log in to your WordPress Dashboard.
- Go to the post or page where you want to disable comments.
- Scroll down to the Discussion meta box below the post editor.
- If you don’t see the Discussion box, click on Screen Options at the top right and check the Discussion option.
- Uncheck the option “Allow comments.”
- Update or publish the post/page.
4: Disable Comments in WordPress Using a Plugin
Using a plugin can simplify the process, especially if you have a large number of posts and pages:
- Install and activate a comment-disabling plugin such as “Disable Comments.”
- Go to Settings > Disable Comments.
- Choose where you want to disable comments:
- Everywhere
- On specific post types (posts, pages, etc.)
- Save Changes.
5: Remove the Comments Section from Your WordPress Theme
Sometimes, even after disabling comments, the comments section might still appear on your site. To remove it:
- Log in to your WordPress Dashboard.
- Go to Appearance > Editor (or Theme File Editor in newer versions).
- Find and open the template files where comments are being displayed. Common files include single.php, page.php, and comments. Php.
- Locate and remove (or comment out) the code that displays comments.
- <?php comments template () ;>
- Make sure to create a backup before editing theme files.
6: Disable Comment Notifications in WordPress
Even after disabling comments, you might still receive comment notifications:
- Go to Settings > Discussion.
- Uncheck the options under “Email me whenever”:
- Anyone post a comment
- A comment is held for moderation
- Save Changes.
Disabling comments in WordPress can be easily managed through the settings, directly editing posts or pages, using a plugin, or modifying your theme files.
Each method serves different needs, from bulk disabling comments to targeting specific posts or pages. By following the steps outlined above, you can effectively manage comments and keep your site running smoothly.
Conclusion: Final Thoughts on Managing Comments in WordPress
WordPress users can improve website management and preserve a polished look by disabling comments. WordPress has multiple ways to disable comments on posts, whether you want to do it for all posts, just some posts, or the entire site.
While using code snippets offers developers a more personalized method, plugins help streamline the process. Choose the approach that best suits your requirements, and maintain the focus and spam-free nature of your website.
Comments help engage with your users, as this blog’s introduction stated, but you must place them on the appropriate pages and topics. You can now block comments on specific topics, pages, or even the entire website by following the instructions in this blog.
FAQs (Frequently Asked Questions)
1: How can I disable comments on a specific post or page in WordPress?
To disable comments on a specific post or page in WordPress, follow these steps:
- Login to your WordPress dashboard.
- Navigate to Posts or Pages and click on the one you want to edit.
- Scroll down to the Discussion meta box. If you don’t see this box, click on ‘Screen Options’ at the top right of the screen and check the box for ‘Discussion’.
- Uncheck the ‘Allow comments’ box.
- Click ‘Update’ or ‘Publish’ to save your changes.
This will disable comments only on the selected post or page.
2: How do I disable comments globally across my entire WordPress site?
To disable comments globally across your entire WordPress site:
- Login to your WordPress dashboard.
- Go to Settings > Discussion.
- Uncheck the box next to ‘Allow people to submit comments on new posts’.
- Click ‘Save Changes’.
This setting will prevent comments from being allowed on any new posts or pages. However, it will not affect existing posts or pages.
3: How can I disable comments on all existing posts and pages in WordPress?
To disable comments on all existing posts and pages:
- Login to your WordPress dashboard.
- Go to Posts > All Posts or Pages > All Pages.
- Click the checkbox at the top left to select all posts or pages. If you have many posts or pages, you might need to do this in batches.
- In the Bulk Actions dropdown, select ‘Edit’ and click ‘Apply’.
- In the Bulk Edit options, find the Comments dropdown and select ‘Do not allow’.
- Click ‘Update’.
This will disable comments on all selected posts or pages.
4: Is there a plugin to disable comments in WordPress?
Yes, there are several plugins available to disable comments in WordPress. One popular plugin is ‘Disable Comments’. To use this plugin:
- Install and activate the ‘Disable Comments’ plugin from the WordPress plugin repository.
- Once activated, go to Settings > Disable Comments.
- Select the options to disable comments everywhere or on specific post types (like posts, pages, or media).
- Click ‘Save Changes’.
- This plugin provides a quick and easy way to disable comments across your entire site or specific parts of it.
5: Can I disable comments on media files in WordPress?
Yes, you can disable comments on media files in WordPress. By default, WordPress allows comments on media attachment pages, which can lead to unwanted spam. To disable comments on media files:
- Login to your WordPress dashboard.
- Go to Media > Library.
- Click on an individual media file to edit it.
- Scroll down to the Discussion meta box and uncheck the ‘Allow comments’ box. If you don’t see this box, click on ‘Screen Options’ at the top right of the screen and check the box for ‘Discussion’.
- Click ‘Update’ to save your changes.
For a more efficient method, you can use the ‘Disable Comments’ plugin mentioned earlier to disable comments on media files across your entire site.
Read More: