

Managing a private rack VPS means controlling both the virtual server and the infrastructure beneath it. You may manage physical servers, hypervisors, networking, storage, security, backups, and monitoring yourself. That gives you more control than a standard hosted VPS, but also more responsibility.
A private rack VPS runs on physical hardware that you control or colocate. Platforms such as Proxmox VE can manage KVM/QEMU virtual machines from a central interface. You also need to manage resources such as CPU, RAM, storage, bandwidth, VLANs, and IP addresses.
The nine steps below cover secure access, virtualization, resource allocation, networking, storage, backups, monitoring, automation, maintenance, and troubleshooting.
What Managing a Private Rack VPS Actually Involves
A private rack VPS requires you to manage more infrastructure than a regular hosted VPS. With normal VPS hosting, the provider usually manages the physical server, power, cooling, and core network.
With a private rack, your responsibilities can include:
- Physical servers, including CPUs, RAM, NVMe drives, NICs, and power supplies
- Rack equipment, including switches, PDUs, UPS systems, and cooling
- Hypervisors, such as Proxmox VE with KVM/QEMU
- Storage systems, such as ZFS, LVM, Ceph, or local NVMe
- Networks, including VLANs, bridges, subnets, IPv4, and IPv6
- Guest operating systems, such as Ubuntu, Debian, AlmaLinux, or Windows Server
- Applications, including websites, databases, APIs, and control panels
The main difference is ownership of the infrastructure layer. You are not only managing a VPS. You are managing the environment that creates and runs each VPS.
Step 1: Secure Access to the Rack and VPS
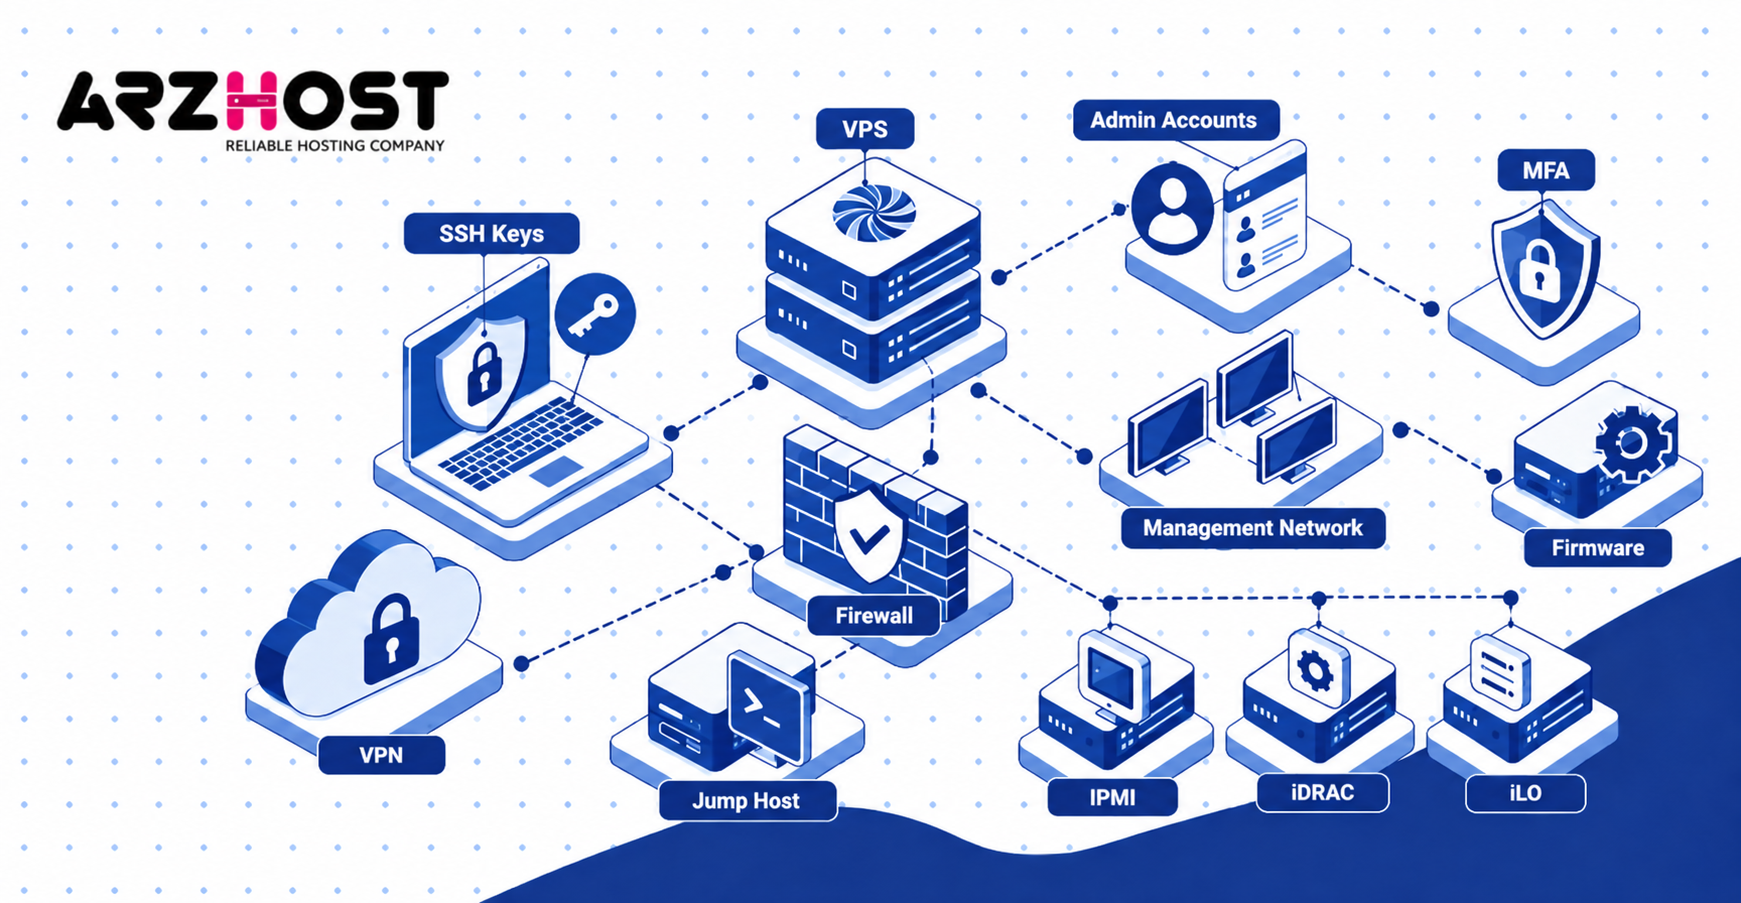
Secure access should protect both the virtual machines and the physical management interfaces.
Use SSH Keys and Restricted Admin Accounts
Use SSH keys instead of password only authentication for administrator access. Create individual administrator accounts instead of sharing one root account.
After confirming key-based access works:
- Disable direct root SSH login
- Disable password authentication where practical
- Allow SSH only from trusted IP addresses or VPN networks
- Enable MFA where your management platform supports it
- Remove unused administrator accounts
Use firewall tools such as nftables, iptables, or ufw to limit exposed ports.
Protect IPMI, iDRAC, and iLO
IPMI, iDRAC, and iLO provide remote control of physical servers. They can power cycle hardware, open remote consoles, and change firmware settings.
Keep these interfaces on a separate management network. Do not expose them directly to the public internet.
Use a VPN or restricted jump host for remote access. Change default credentials and keep management firmware updated.
Step 2: Manage the Hypervisor and VPS Lifecycle
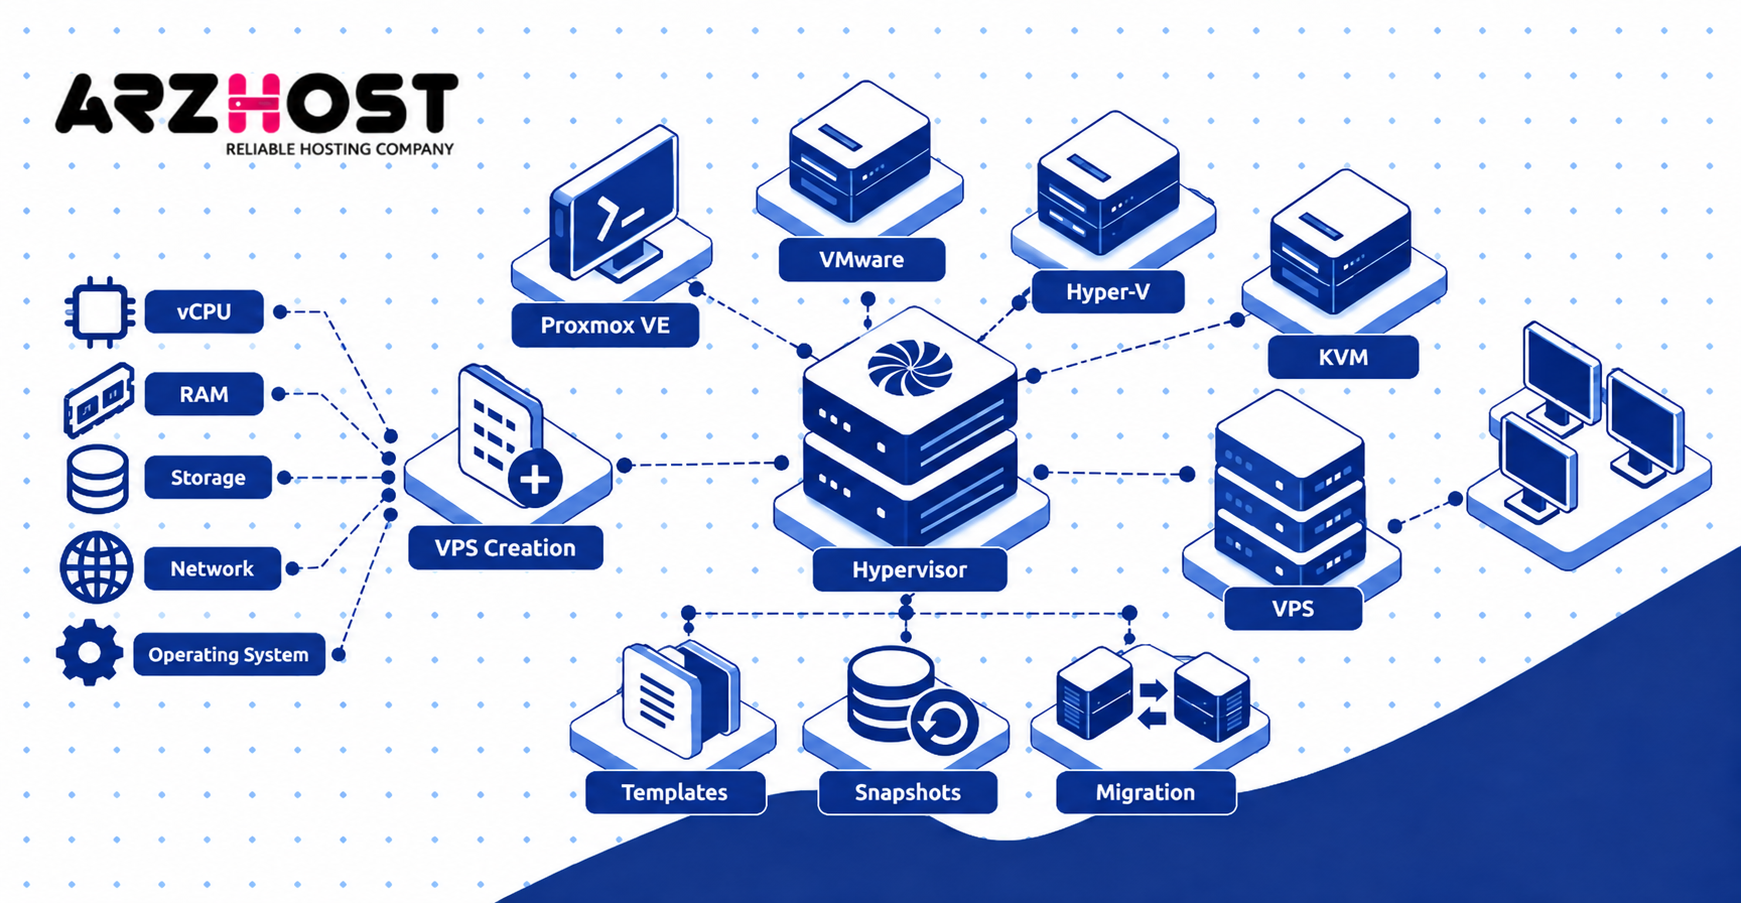
The hypervisor controls how virtual machines are created, configured, started, stopped, and moved.
Proxmox VE is one example of a management platform using KVM/QEMU virtualization. Other environments may use VMware, Hyper-V, or direct KVM management.
Standardize VPS Creation
Define five items before creating each VPS:
- vCPU allocation
- RAM allocation
- Storage size
- Network configuration
- Operating system
Use consistent VM names and identifiers. For example, production web servers could follow a naming pattern such as web-01 and web-02.
Use Templates, Snapshots, and Migration Correctly
Templates reduce configuration differences between new virtual machines. Cloud-init can automatically apply hostnames, SSH keys, users, and network settings.
Use snapshots for short term rollback before upgrades or configuration changes. Do not treat snapshots as permanent backups.
Live migration can move virtual machines between physical nodes when the infrastructure supports it. This is useful during hardware maintenance or workload balancing.
Step 3: Allocate CPU, RAM, Storage, and Bandwidth
Resource allocation should be based on measured workload demand rather than maximum available capacity.
A VPS can become slow even when CPU usage looks normal. Storage latency, memory pressure, network congestion, or another virtual machine may be the actual problem.
Avoid Overcommitment and Noisy Neighbors
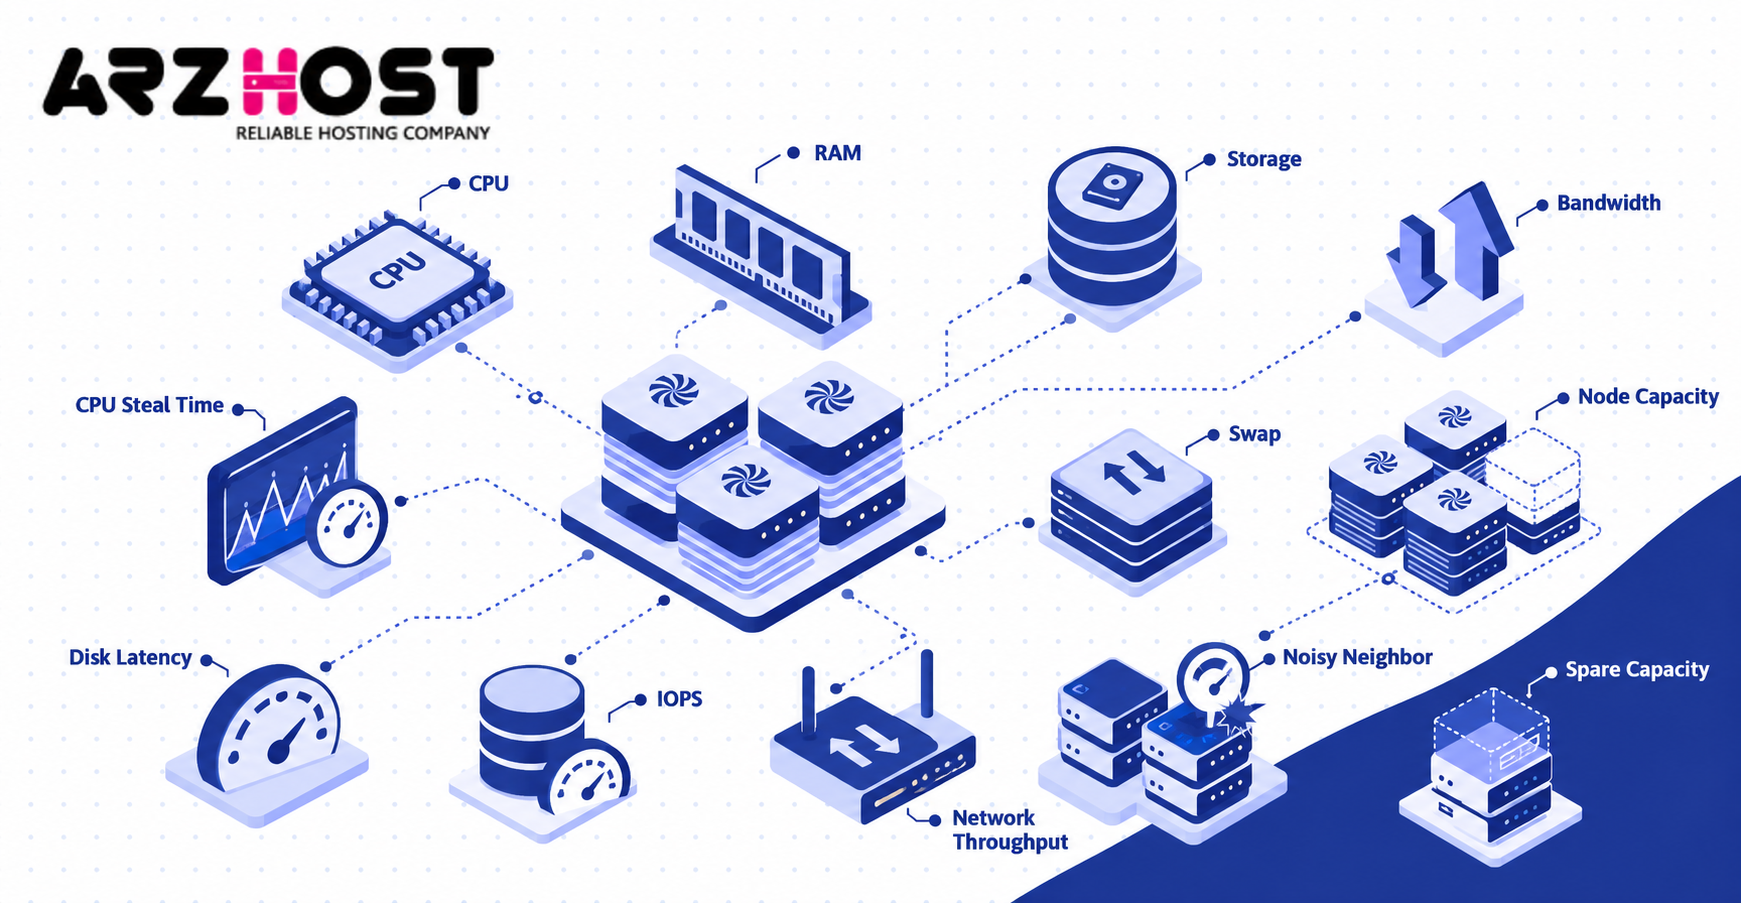
Overcommitment means assigning more virtual resources than the host can provide simultaneously. This can work for light workloads but creates risk when usage increases.
Monitor:
- CPU utilization
- CPU steal time
- RAM pressure
- Swap activity
- Disk latency
- IOPS
- Network throughput
A noisy neighbor is a VPS that consumes enough shared capacity to affect other virtual machines.
Apply resource limits where needed. Keep spare capacity for maintenance, migration, and unexpected workload spikes.
Plan Capacity Across Physical Nodes
Do not calculate node capacity from CPU cores alone.
A server may run out of RAM, storage performance, or network bandwidth before reaching full CPU utilization.
Keep enough unused capacity to absorb workloads if another physical node requires maintenance or fails.
Step 4: Configure Private Rack Networking
Private rack networking should separate traffic by purpose and control how each VPS reaches other systems.
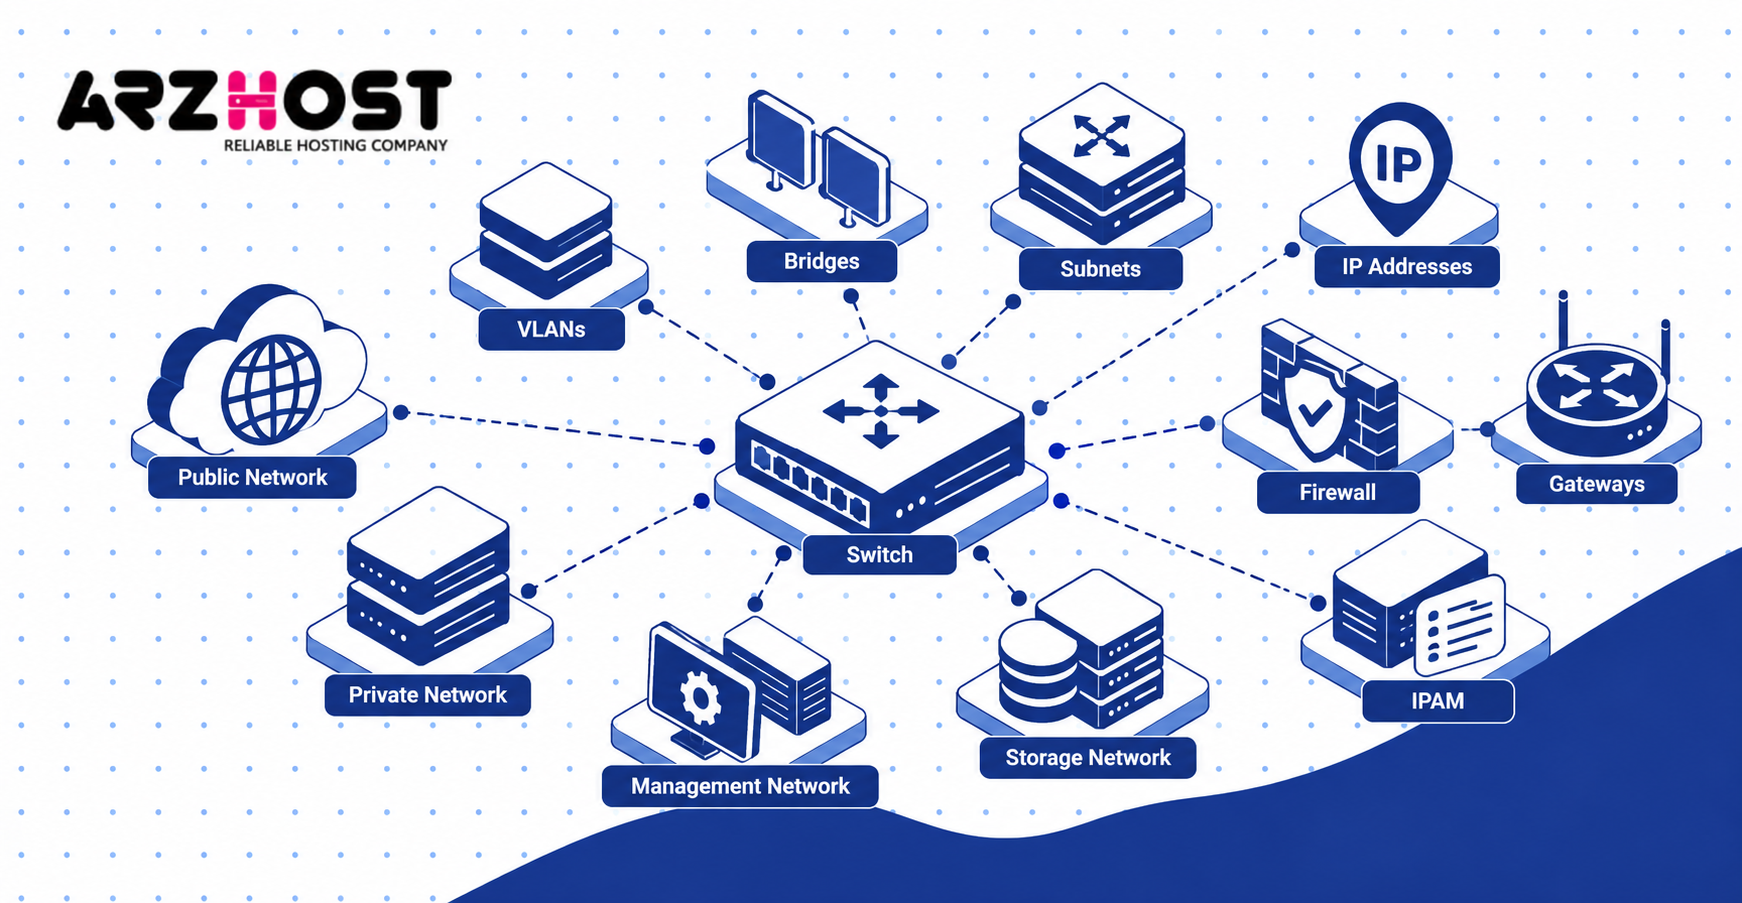
Manage VLANs, Bridges, Subnets, and IP Addresses
A VLAN is a logical network segment that separates traffic without requiring a separate physical switch.
Common network components include:
- VLANs for traffic isolation
- Linux bridges or Open vSwitch for VM connectivity
- IPv4 and IPv6 subnets
- Gateways and routing
- Firewall rules
- IP address management
Use IPAM, or IP address management, to track assigned and available addresses. Document public IP allocations, private ranges, gateways, and reverse DNS records.
Separate Important Network Roles
Larger private racks commonly separate four network roles:
Public network: Customer websites, APIs, and internet facing services.
Private network: Databases, internal APIs, and backend communication.
Management network: Hypervisors, switches, monitoring systems, and BMC interfaces.
Storage network: Ceph, NFS, iSCSI, and replication traffic.
Separating these networks reduces unnecessary exposure and makes troubleshooting easier.
Step 5: Choose and Manage VPS Storage
Storage should match your workload, performance requirements, and recovery design.
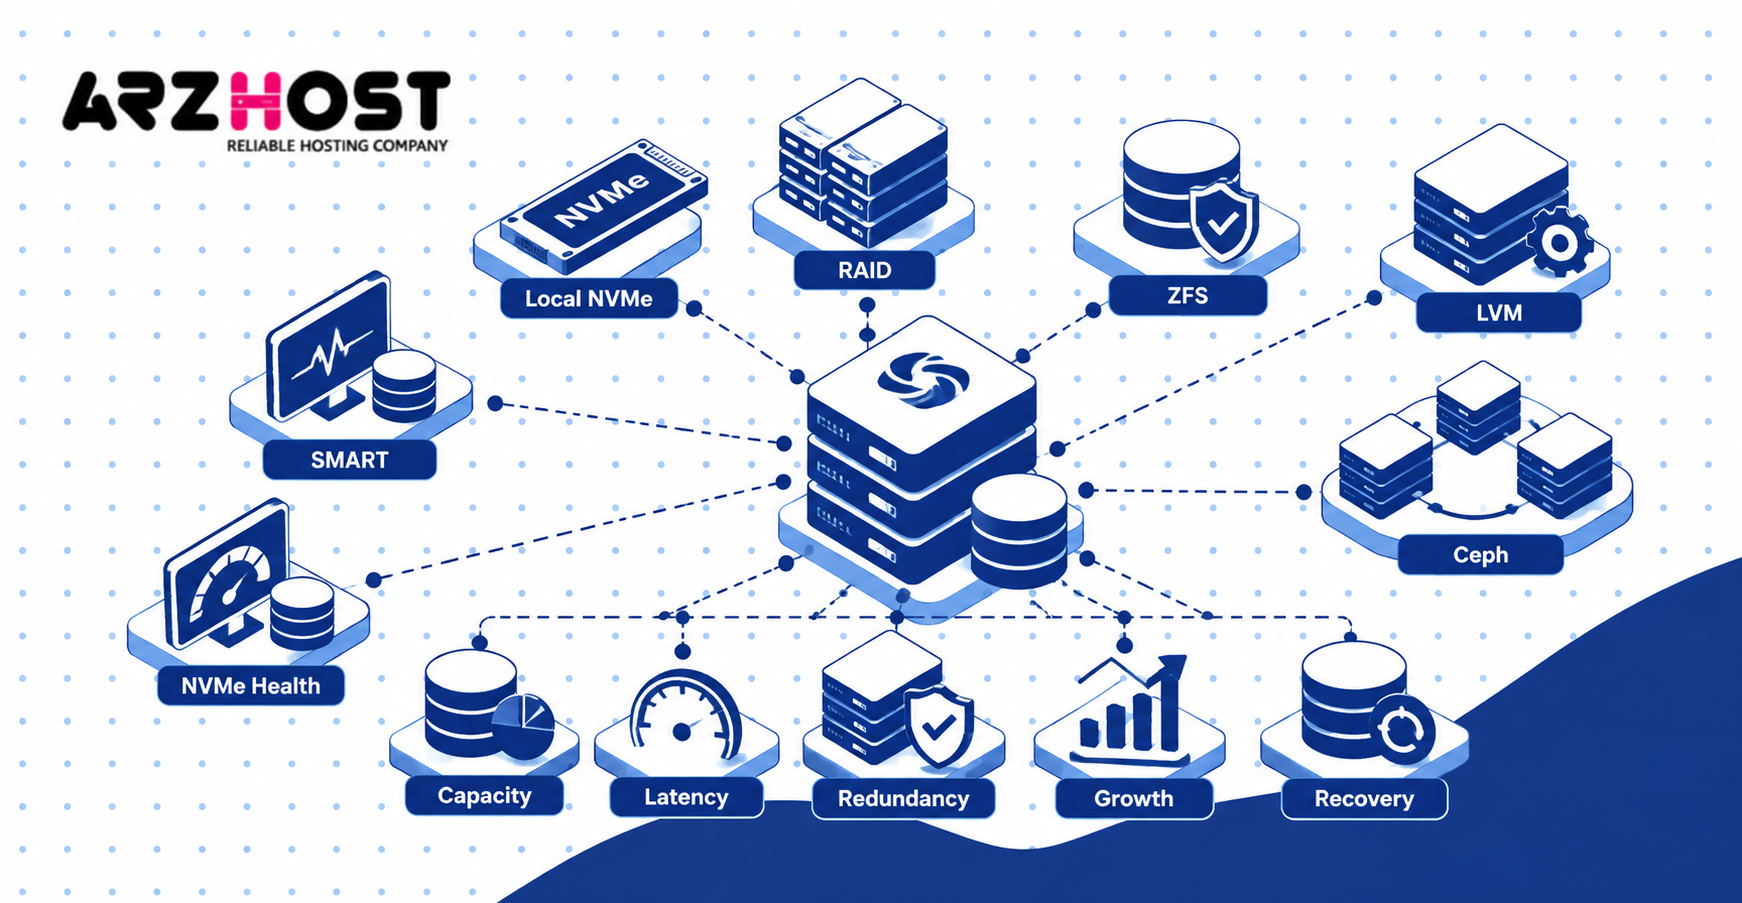
Choose the Right Storage Layer
Common options include:
Local NVMe: Low latency and high IOPS for databases and busy applications.
RAID: Combines multiple drives for redundancy or performance.
ZFS: Provides checksums, snapshots, compression, and software based redundancy.
LVM: Provides flexible local volume management.
Ceph: Provides distributed storage across multiple physical nodes.
Storage design should consider capacity, latency, redundancy, growth, and failure recovery.
Monitor disk health through SMART or NVMe health data. Replace degraded drives before they create wider storage problems.
Step 6: Build and Test a Backup Strategy
Backups should remain recoverable even when the production host or rack becomes unavailable.
Keep at least one backup copy outside the physical server being protected. Important workloads may also require an off-site copy.
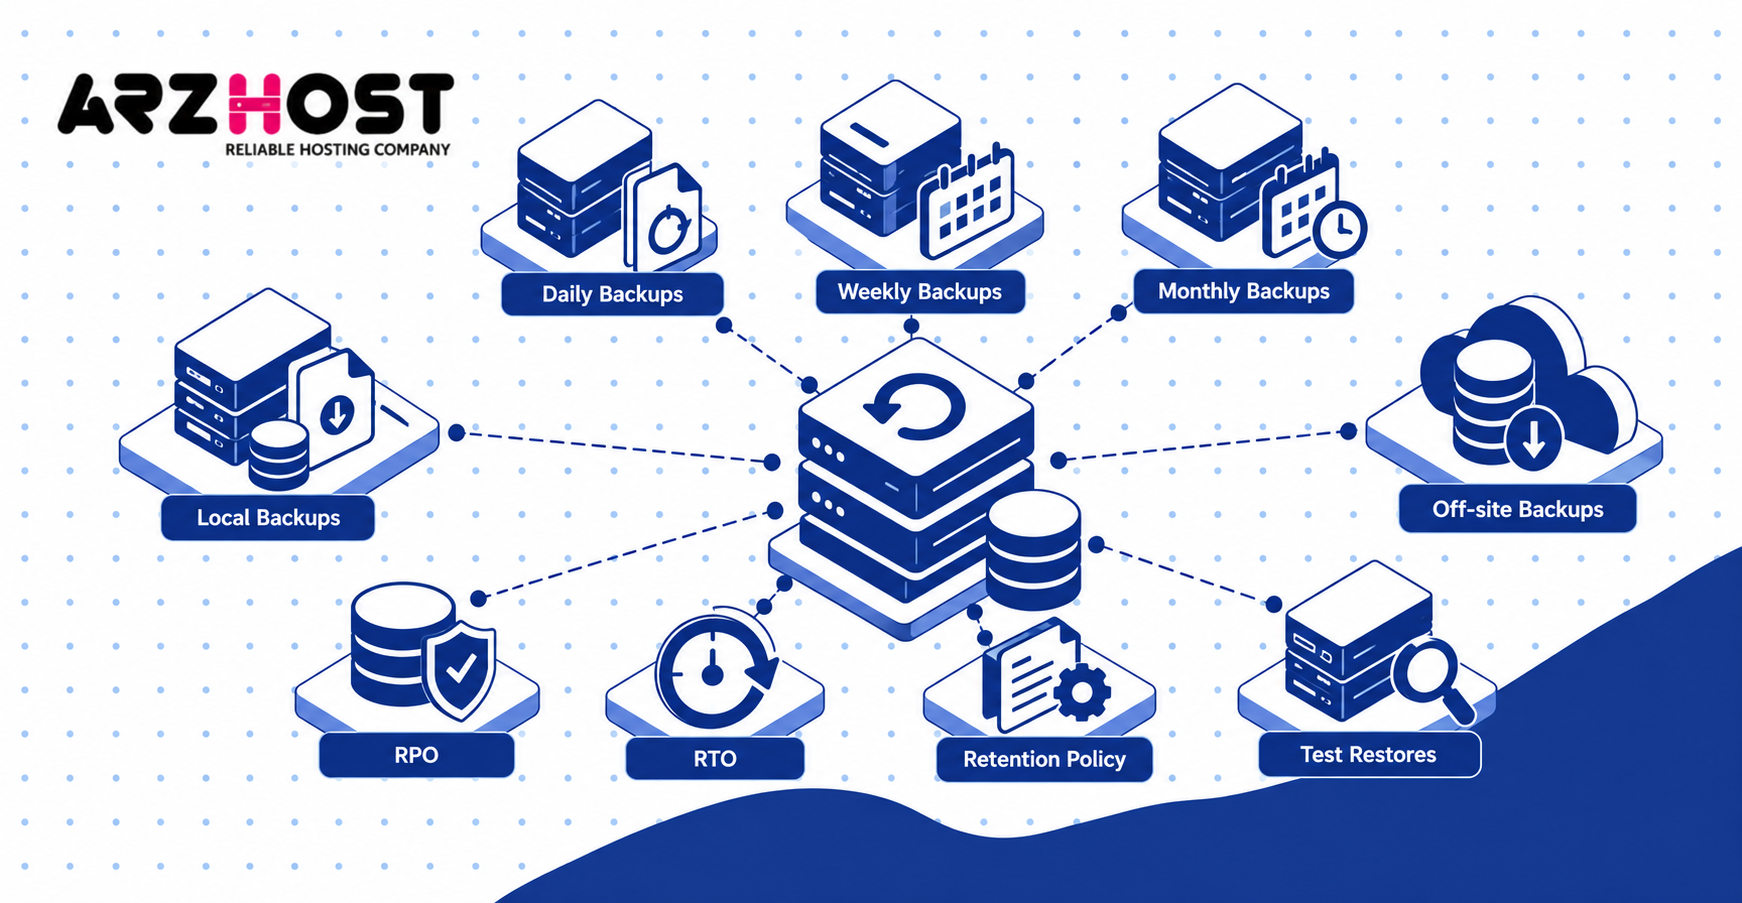
Define Backup Retention and Recovery Targets
A simple retention policy may keep:
- 7 daily backups
- 4 weekly backups
- 3 monthly backups
Adjust retention to your business and compliance requirements.
RPO, or Recovery Point Objective, defines how much data loss is acceptable. RTO, or Recovery Time Objective, defines how quickly service must be restored.
RAID is not a backup. A snapshot is also not a replacement for an independent backup.
Test full restores regularly. A backup job showing “successful” does not prove the data can be recovered.
Step 7: Monitor Hardware, Hypervisors, and VPS Performance
Monitoring should cover the entire stack, not only the guest operating system.
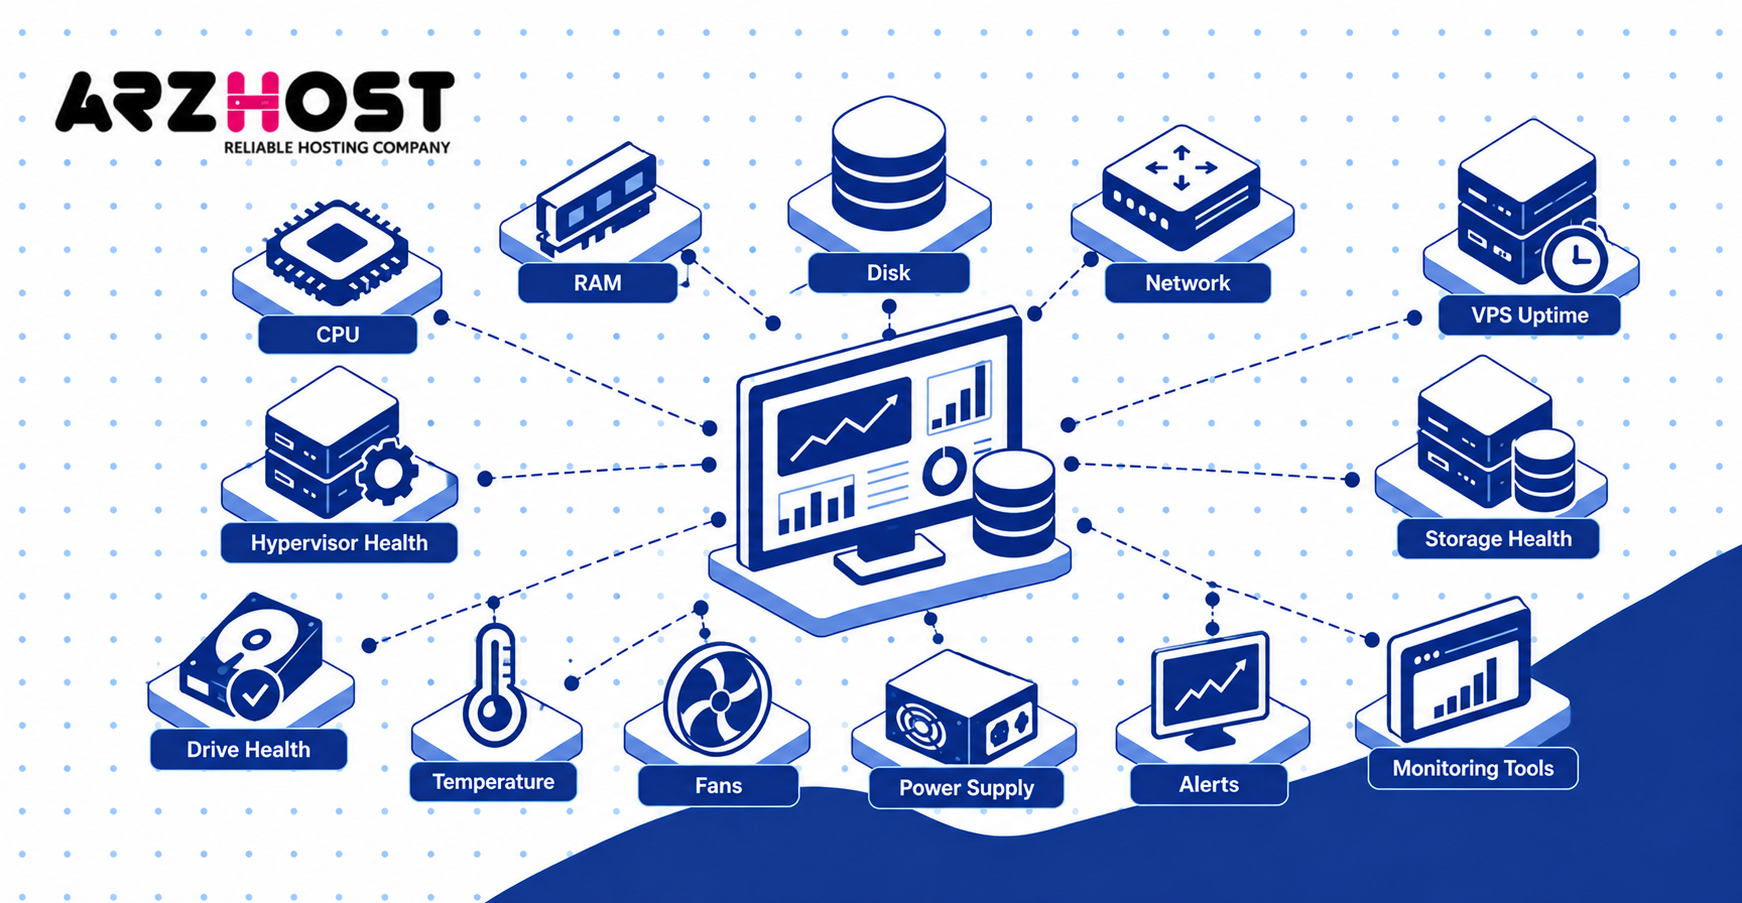
Track at least these areas:
- CPU utilization and steal time
- RAM usage and swap
- Disk latency and IOPS
- Network throughput and packet loss
- VPS uptime
- Hypervisor health
- Storage pool health
- Drive health
- Server temperatures
- Fan and power supply status
Tools such as Prometheus, Grafana, Zabbix, or Netdata can centralize monitoring.
Create Useful Alerts
Alerts should identify conditions that require action.
Useful examples include:
- Failed disks
- Backup failures
- Sustained CPU pressure
- High storage latency
- Low free space
- Packet loss
- Failed power supplies
- Unreachable hypervisors
Avoid alerting on every short resource spike. Base thresholds on normal workload behavior.
Step 8: Automate Routine VPS Management
Automation reduces manual configuration differences across physical nodes and virtual machines.
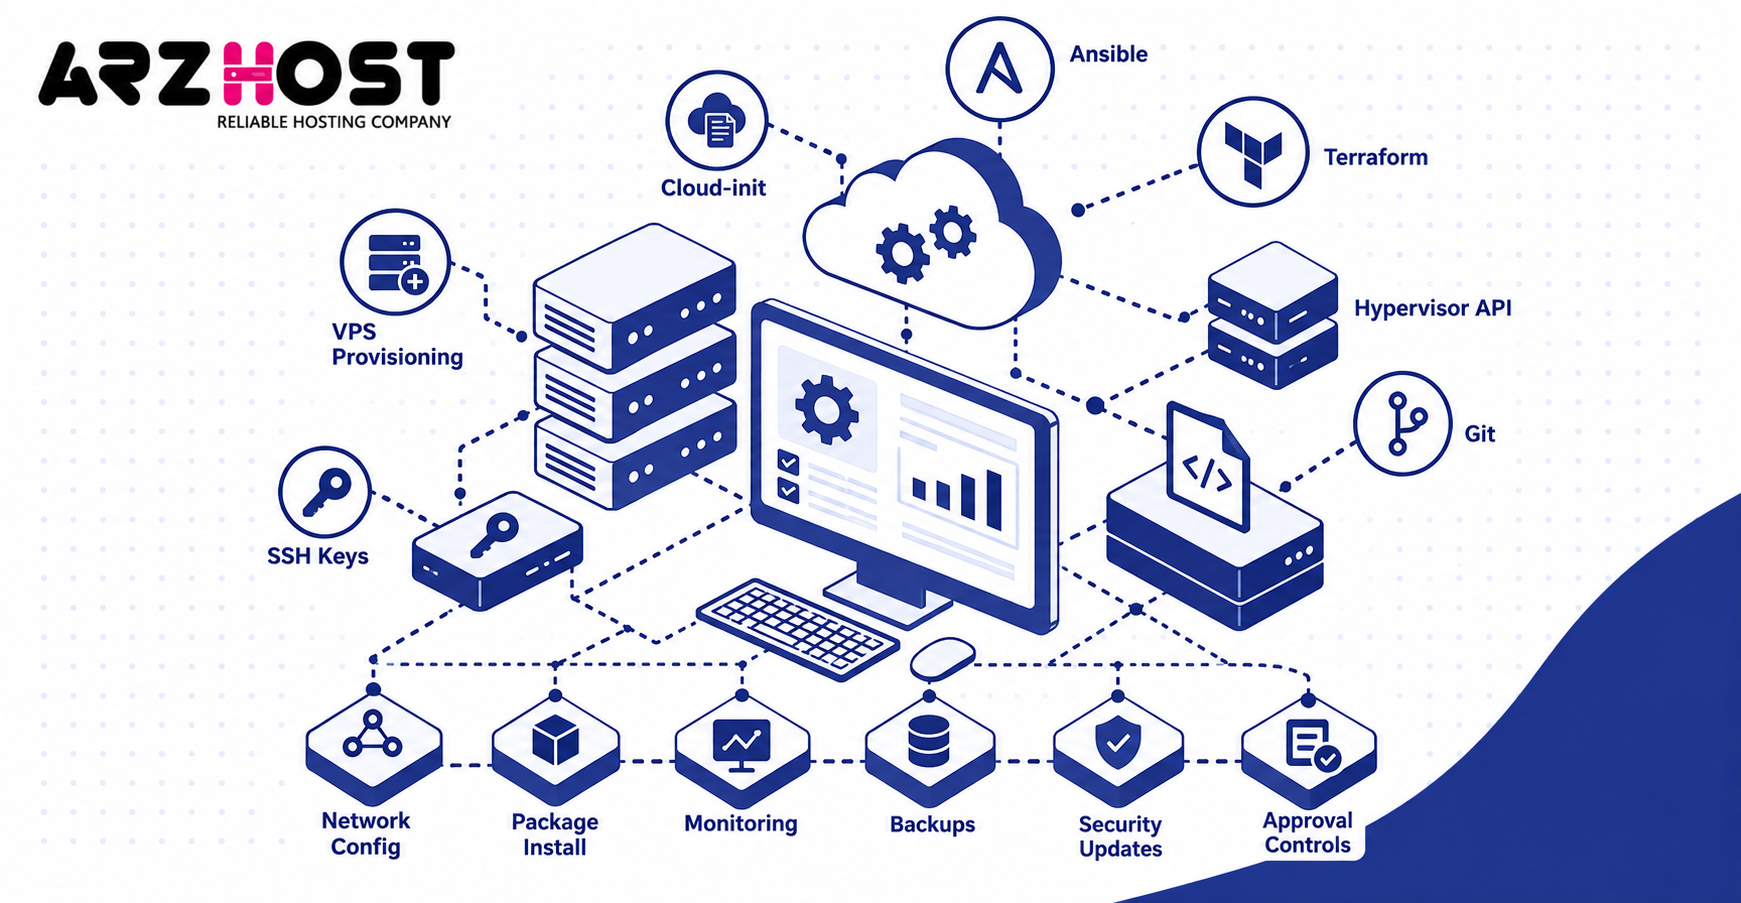
Use the Right Automation Tools
Cloud-init can configure a VPS during first boot.
Ansible can manage operating systems, packages, users, services, and application settings.
Terraform can provision infrastructure through supported providers and APIs.
Hypervisor APIs can connect provisioning with billing systems, customer portals, or internal management platforms.
Store automation files in Git or another version control system.
Automate Repeatable Tasks
Good automation targets include:
- VPS provisioning
- SSH key deployment
- Network configuration
- Package installation
- Monitoring registration
- Backup scheduling
- Security updates
- Standard configuration changes
Keep destructive actions, such as deleting a VPS or storage volume, behind approval controls.
Step 9: Maintain and Troubleshoot the Infrastructure
Private rack VPS management requires ongoing maintenance across hardware, virtualization, networking, and guest systems.
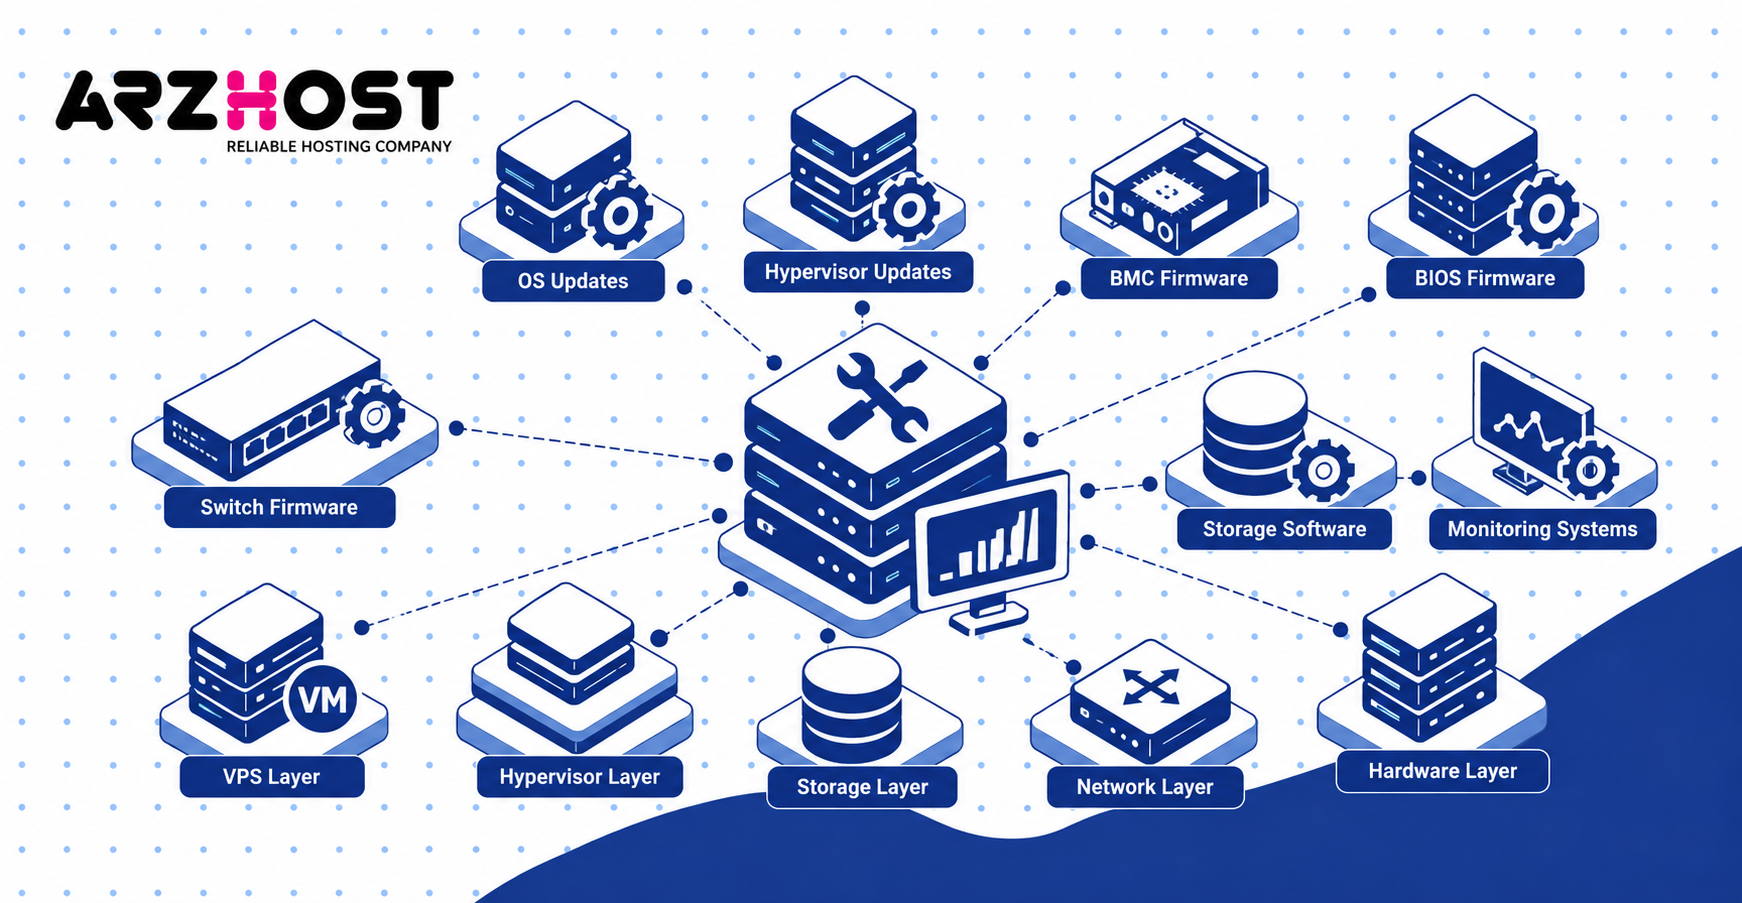
Keep Every Layer Updated
Create maintenance procedures for:
- Guest operating system updates
- Hypervisor updates
- BMC firmware
- Server BIOS and firmware
- Network switch firmware
- Storage software
- Monitoring systems
Use scheduled maintenance windows for important production infrastructure. Keep rollback procedures and configuration backups before major changes.
Document network changes, firmware updates, storage changes, and hypervisor configuration changes.
Troubleshoot by Infrastructure Layer
When a VPS fails, identify the affected layer before changing configurations.
Check these five layers in order:
VPS: Services, application logs, CPU, RAM, and filesystem space.
Hypervisor: Host load, VM state, resource contention, and cluster status.
Storage: Capacity, disk health, latency, replication, and pool status.
Network: VLANs, routes, gateways, packet loss, and switch ports.
Hardware: Drives, RAM, NICs, temperatures, power supplies, and firmware.
If one physical host fails, every VPS depending only on that host may become unavailable. Shared or replicated storage can simplify recovery, but it does not replace backups.
Common Private Rack VPS Management Mistakes
Avoid these common mistakes:
- Exposing IPMI, iDRAC, or iLO directly to the internet.
- Using shared or password only administrator accounts.
- Mixing customer and management traffic without isolation.
- Overcommitting CPU or RAM without monitoring contention.
- Treating RAID as a backup.
- Treating snapshots as long term backups.
- Keeping all backups inside the same physical rack.
- Ignoring firmware, switch configurations, and hardware health.
- Making undocumented infrastructure changes.
- Running physical nodes without spare failure capacity.
Private Rack VPS Management Checklist
Use this checklist for routine management:
- Secure SSH, VPN, and hardware management access.
- Standardize VPS templates and provisioning settings.
- Monitor CPU, RAM, storage, IOPS, and bandwidth.
- Separate public, private, management, and storage networks.
- Monitor drives, storage pools, and physical server health.
- Maintain independent and off site backups.
- Monitor hypervisors, virtual machines, and networking.
- Automate repeatable provisioning and configuration work.
- Patch, document, test, and troubleshoot every infrastructure layer.
Conclusion
In conclusion, managing a private rack VPS requires control across hardware, virtualization, networking, storage, security, backups, and monitoring. The most reliable approach is to standardize each layer, reserve spare capacity, automate repeatable work, and test recovery before failures occur.
Use the nine-step checklist as an operational baseline for every physical node and VPS you manage.
Frequently Asked Questions
What is a private rack VPS?
A private rack VPS is a virtual server running on physical infrastructure you control. A hypervisor creates and manages the virtual machine. You may also control networking, storage, hardware management, backups, and resource allocation.
Is managing a private rack VPS difficult?
Managing a private rack VPS requires more knowledge than managing a normal hosted VPS. You need basic skills in Linux administration, virtualization, networking, storage, and security. Standardized configurations and automation make larger environments easier to manage consistently.
What tools can I use to manage private rack VPS servers?
Common tools include Proxmox VE for virtualization, cloud-init for initial VM configuration, and Ansible for configuration management. Terraform can automate supported infrastructure provisioning. Prometheus, Grafana, Zabbix, and Netdata can monitor performance and availability.
How often should I update a private rack VPS and hypervisor?
Security updates should be reviewed regularly and applied according to your maintenance policy. Major hypervisor, firmware, or operating system upgrades should be tested before production deployment. Use scheduled maintenance windows for changes that may require reboots or service interruption.
What happens if a VPS host server fails?
Virtual machines running only on the failed host may become unavailable immediately. Recovery depends on your clustering, storage, backup, and spare-capacity design. Replicated storage may allow workloads to restart elsewhere, while non-redundant environments may require backup restoration.
How should I back up VPS servers in a private rack?
Store backups separately from the physical nodes they protect. Use scheduled VM backups, defined retention periods, off-site copies, and routine restore tests. Protect important configuration data, including hypervisor settings, network configurations, and automation files.
Can I use RAID instead of VPS backups?
No. RAID protects against some disk failures but does not protect against deletion, corruption, ransomware, configuration errors, or complete rack failure. Independent backups are still required for reliable recovery.
How can I prevent one VPS from slowing down other VPS servers?
Monitor CPU, RAM, IOPS, and network usage at the hypervisor level. Apply resource limits where necessary and avoid excessive overcommitment. Keep enough host capacity available for peak workloads and maintenance events.
Is running a private rack VPS worth the cost?
A private rack can make sense when you need infrastructure control, predictable capacity, or many continuously running virtual machines. Calculate hardware, colocation, power, bandwidth, IP addresses, backups, replacement parts, and administration time. Compare the total cost with rented VPS, dedicated server, and cloud options.
Can AI automate private rack VPS management?
AI can assist with monitoring, log analysis, anomaly detection, and troubleshooting. It should not replace access controls, backup policies, testing, or administrator review. High-impact actions such as deleting virtual machines or changing production networking should remain controlled and auditable.