Introduction
Domain Name System is what converts your address in the form of yourwebsite.com into the IP addresses used by computers. Websites and emails could not exist without it.
DNS zone management also ensures that your site loads, emails arrive, and services integrated at the Internet work correctly. With DNS Zone On 123-reg you can achieve this in their control panel with Add records: A, CNAME, MX and TXT. Each has a role that is played and by knowing the basics, you avoid issues like downtimes or missed mails.
What is a Domain Name System?
The majority of the people merely refer to it as DNS and that is how the internet runs in the background. Imagine a huge phonebook. Rather than just entering a sequence of numbers, you enter a domain name such as example.com, and DNS converts it into the correct IP address to tell your computer where to have a look at.
In cases where DNS Records are not configured properly, or in a case where someone trifles with them, things unravel very rapidly. Websites can crash, emails can cease to deliver and at times even people can end up being rerouted on fake websites.
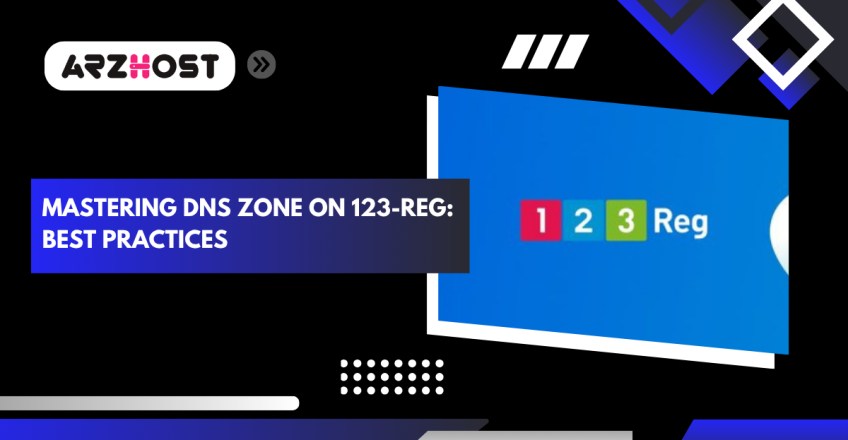
Accessing the DNS Zone on 123-Reg
To control your DNS settings with 123-Reg, you only need to access the appropriate location in your account. Fortunately, their interface is very easy-going as long as you can figure out where to look. You need to add a record, make corrections, clean up some old records? .The following is how to connect to the DNS zone of the maintained domain.
You have to enter the account email and password in the Control Panel of 123-reg, then choose the Domains section and the desired domain then click on the Manage DNS.
Security-First Hosting for Businesses
From DNS to disaster recovery—ARZ Host has your back.
Click HereHow to Add DNS Records on 123-Reg
The reasons why you may need to add DNS records are many–perhaps you’re giving a domain the address of a hosting server, configuring email, or validating the domain with a service such as Google Workspace. In any case, each of all records (A, CNAME, MX, TXT, etc.) also has its purpose, and their correct implementation can help the whole process to be as successful as possible.
How to add DNS records in 123-Reg step by step.
- Login to Your to 123-Reg Control Panel:
- Now, once it is in, go to the Domains section. Click on one you would like to manage.
- Find the Manage DNS button. Click on it, and then open the Advanced DNS tab. This is where you can view all your existing records as well as creating new records.
- Add a New Record: Find the Add New record button or link–that normally is easy to find. Give it a click to begin putting in your new DNS record.
- Type of record: A dropdown list will appear where you choose the type of record. Select one of what you require A, CNAME, MX or TXT. They all do not do the same thing and therefore it is wise not to choose the wrong one when configuring something.
- Enter the Details needed: Fill out the blanks:
- Hostname/Name: This is the one you are working with as the subdomain. If you wish the record to apply to your main domain (such as example.com); simply prefix it with a character, @.
- Destination/Target/Value: This is based on the type of record.
- When it is an A record, the IP address should be given.
- In the case of CNAME, it will be the name of another domain (typically followed by a dot mark, such as example.com.).
- TXT messages often require certain fixed text such as a verification code.
- TTL (Time to Live): It informs the servers of how long it would take to store the record in cache. It is typically ok to leave this to the default, unless otherwise.
- Save the Record: When everything has been filled in click on Add or Save. That’s all–the new record is complete. The only thing to remember is that DNS changes can actually be slow to come online, and can even take as long as 48 hours.
How to Edit Existing DNS Records on 123-Reg
You may need to renew a DNS entry sometimes – maybe you’ve switched to a new hosting company that has a different IP address, or you have altered the configuration of your mail server, or you just noticed a minor error. Not sure why, but it is relatively easy to make edits in 123-Reg, as soon as you find the place.
DNS records can be edited in the following steps:
- Login in Your 123-Reg Control Panel.
- Select the Domains tab . You will notice all the domains associated with your account.
- Select the Domain to Edit.
- As soon as you are on the domain settings page, then click on Manage DNS. Then, you can open the Advanced DNS tab and view all your existing records.
- Go through the list and locate the record that the one would require changing. It might be an A record, CNAME, MX or TXT.
- Find the edit icon next to the record. Click to open in the editing view.
- Change the Record Strongs: Edit your changes–whether this is an IP address or a domain name, or an error you made. Before saving, just ensure that the information is accurate.
- You can apply your changes by clicking Save or Confirm (whichever the button is labelled with).
- Allow Time to Propagate It may take some time before changes are completely operational. In some cases, it is rapid and in other cases it may require up to 24-48 hours.

How to Delete DNS Records on 123-Reg
Cleaning up DNS records you no longer need is just as important. Old or wrong entries can cause weird conflicts or stop things from working correctly; like email or site access. That way, when something becomes outdated it should be cleared.
Deleting DNS Records is a Step by Step Process:
Log-in to Your 123-Reg Control account.
Find the Domains tab and click it..
Select the domain that contains the DNS record you are removing.
Select Manage DNS and then Advanced DNS tab.
Scroll down and find the record that you want to get rid of.
The record must have a delete icon or a little trash bin visible beside it–click it.
Confirm Deletion. Then a message will appear and it will ask whether you are certain. Confirm it.
Wait for Propagation. Just like edits it could take some time before the deletion filters everywhere. This may be a few minutes or maybe 48 hours depending on the DNS caching.
Start hosting smarter. ARZ Host is built for speed
Dedicated Resources, Affordable Price: Sign Up for VPS Hosting.
Click HereConclusion
When you are familiar with, and know the location of everything, managing DNS on 123-reg is not as bad. At first, it is a bit technical but frankly, when you do it once or twice, it starts to make sense. Simply take your time with the records, crosscheck before what you are putting in and take your time and do not hurry particularly when you are not 100 percent sure of what something does. A single little typo is enough to cause a crash and make you wonder why your web page isn’t loading or a mail is getting sent.
Its all there, whether you are putting together a new web site, working out email or even making some changes to old records. And when things do not come together immediately it is not a big deal to panic, because DNS always takes time before it is implemented.
It is very easy to update the DNS records through ARZ Host. It takes some time for everything to start working everywhere.
FAQs.
Do I have to work with the DNS?
Unless you happen to be configuring something such as a new email account or a change of host, you really can leave it alone and suppose that everything is open and well, unless you have a good idea of what you are doing.
What is the average delay time of DNS changes?
In some cases, it can be rapid, such as a couple of minutes. Sometimes it is many hours–a whole day or two. It is simply a matter of cache around the Internet.
What will happen when I type something incorrect?
At worst, your site will be offline, or the email will cease to work. This is why it is good to re-check everything before clicking on save.
What is meant by the @ in DNS?
It simply implies the primary domain e.g. example.com with no subdomains. Thus, if you want the record to work on the root domain then you use “@.”
Am I required to fill TTL field?
In most cases, you are free to leave it as it is unless another person dictates other wise. It’s simply a configuration that dictates the duration in which other servers would retain your DNS record in their memory.
What are the differences between A record and CNAME record?
A record is linked to an IP address. CNAMEs refer to an alternate domain name. Both forward traffic in one way or another.
I deleted one of the records accidentally, what now?
In the event that you happen to recall the details, re-add them as they were. Otherwise, read any mail that your hosting or email service sends–they tend to contain the details you require.
Read More: