
When you install PHP it executes in the default setting. Sometimes it is good for many websites. Sometimes your website needs different settings then you can change PHP settings. E.g. your website required heavy files to upload. But the default setting allows you to limit the upload files. For changing the settings you will create a ‘phprc’ file and change values. php Max_execution_time is the largest time in which a script is allowed to run before end. Default time is 30 seconds.
php max_execution_time:
Default time of execution is 30 seconds it will be too short for you. you can change this value by creating a phprc file. you can create a phprc file via FTP and SSH.
Creating phprc file via FTP:
- you login to your web server via FTP client. you are using file zilla for this process.
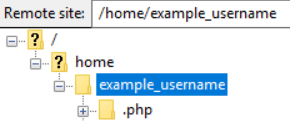
- Ensure that you are in our correct directory. Otherwise your small problem going to be big problem.
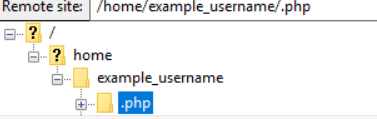
- Click on .PHP file which you see that already exit.
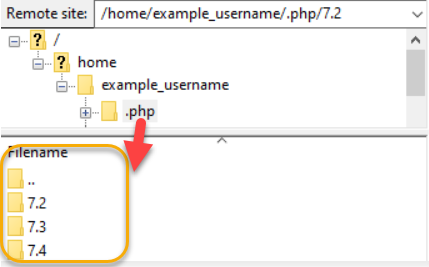
- In .PHP folder you can see that there are several other folders. Which are representing the version of PHP. For choosing the version from this folder. you should ensure that which version your site is using. For example your site using 7.4 and you should click on 7.4.
- In this directory you will see a phprc file. Right click on phprc file and choose view or edit.
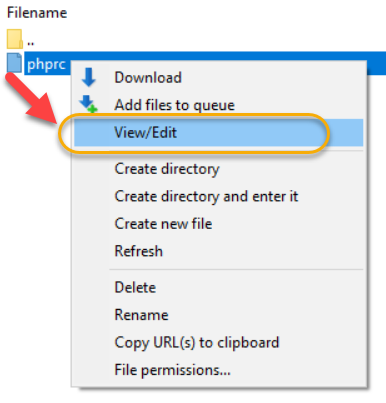
- After clicking on this file you can see the following lines of code which are open in your default editor. using this code you can change your php max_execution_time.


- When you complete your task then you want to save your file then you see a pop up message. Which show that file is change and check box ‘finish edit and delete local files’. Now click on yes button.
- When you complete these steps then check that any PHP process is in running form or not. If process is running then kill off all these process. Which are running in PHP.
- When you have to complete all steps and kill the PHP process. Now confirm that your files update or not. you can check by using phpinfo.php file.
If you have already phprc file then follow these steps:
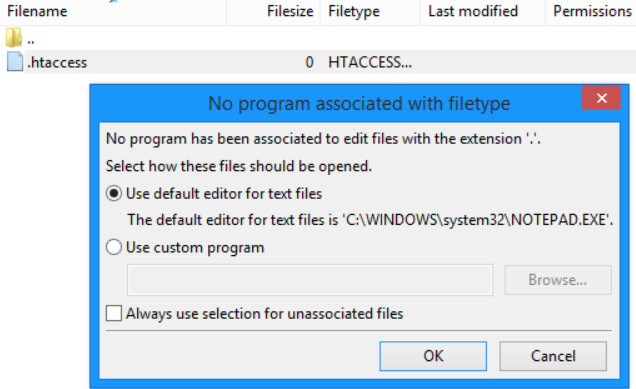
10. Login to your server. Ensure that you are in correct directory to create file. Click right on file you see an option view and edit click on it.

11. After click on edit next prompt open asking him to choose the editor. you choose our default window editor notepad.
12. After choose the editor notepad open. you can write here code.
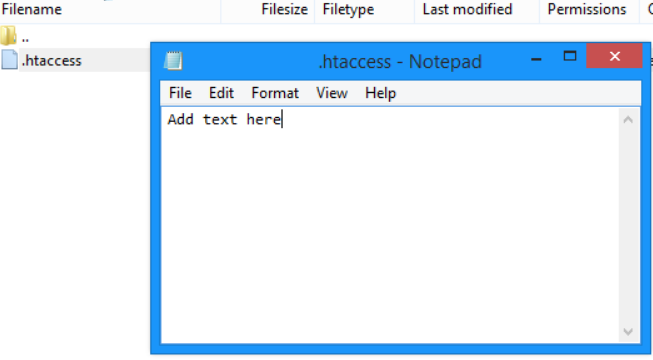
13. When you write your code then click on file and save this file.

14. When you save your file within few seconds a new prompt open. you check the box and click on yes button.
Delete file:
15. Login to server via FTP.
16. Very important thing is that ensure that you are in correct directory or not.
17. Write click on file and click on delete.
18. When you complete your task he asking him to confirm the file delete or not click on yes button.

