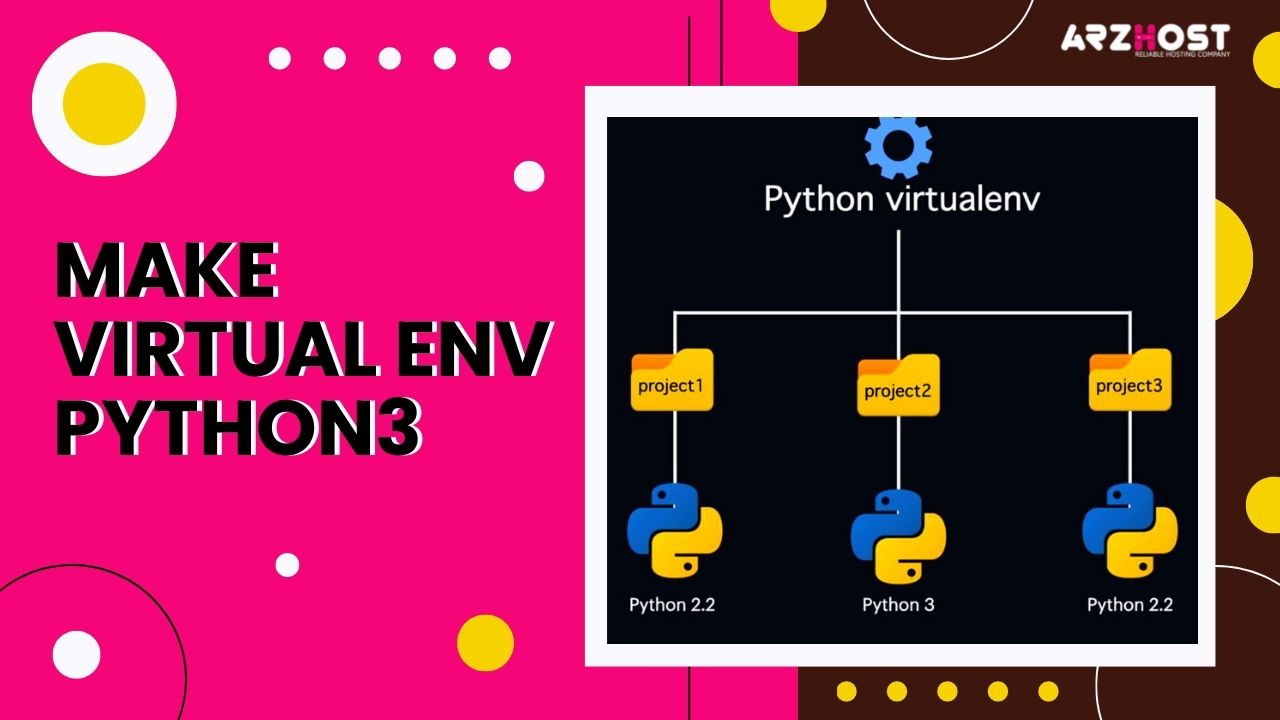
A Python package called “venv”, often known as a virtual environment, establishes a different environment for each task or project. It keeps your projects nicely organized while installing the packages we require that are specific to that environment. Additionally, Make Virtual Env Python3 versions and installed modules on the system are never actually changed by venv. In essence, using venv enables a unique working environment while preventing any interruptions to other Python variations that are used but unrelated to our project.
This article will teach you how to Make Virtual Env Python3 for your Python projects by using the venv module in Python. Versions of Python and package addictions can vary depending on the environment. Once you’ve amazingly worked with virtual environments. You’ll be able to assist other programmers in duplicating your development environment and ensure that no dependencies between your projects ever conflict.
Make Virtual Env Python3 development frequently and successfully employs the utilization of virtual environments. You’ll be able to master your Python programming workflow by having a greater grasp of how they operate. Why you need them, and what you can accomplish with them.

You have the option of choosing code examples for Windows, Ubuntu Linux, or macOS throughout the session. To receive the instructions, you require. Select your platform in the top right corner of the pertinent code blocks. If you want to learn how to use Python virtual environments on other operating systems. Feel free to move between your available platforms.
In order to install a virtual environment on Windows, follow these simple steps:
The most recent major version of Python is 3.8.0.
When installing PIP on Windows, we advise following the instructions found here in our knowledge base article. If you get the “pip command not found” error while using Python 3. Simply use the following procedure to install pip.
curl www.pypa.io/bootstrap/get-pip.py -o get-pip.pyMake sure to save the file you download, get-pip.py, to your desktop.

Run the get-pip.py script from your desktop using the Windows Command Prompt. After that, the pip should function throughout the entire system.
get-pip.py in Python 3You might need administrative rights to complete this action at the command prompt. Follow the instructions in Start a Command Prompt as an Administrator from the Microsoft. TechNet website for additional information on this.
cd PythonDesktop get-pip.pyType the following at the Windows command prompt:
install virtualenv with piplaunch virtualenv
Go to the location of your project in the Windows command prompt:
my project cdOpen the project folder and then execute:
env virtualenvActivate virtualenv
Virtualenv (venv) on Windows generates a batch file named
\env\Scripts\activate.batActivate the script in the Scripts folder to activate virtualenv on Windows:
\pathto\env\Scripts\activateExample:
C:\Users\'Username'\venv\Scripts\activate.batThere are two major ways to Make Virtual Env Python3, both of which we advise.
with pip
VirtualEnvWrapper-win pip installInstall from source
Clone git:/github.com/davidmarble/virtualenvwrapper-win.gitNext, we run: after cd'ing to the VirtualEnvWrapper-win folder.
install python setup.pyThat’s all, then! Venv in Python is configured and prepared for use.
Congratulations on completing this Python3 virtual environment tutorial. You developed a solid grasp of virtual environments throughout the lesson, including what they are. Why you need them, how they work internally, and how to Make Virtual Env Python3 them on your system.
Related Article
Create Virtual Environment Python 3

230 Ave, New York NY, 10001, United States