
Updating your GPU drivers keeps your system functioning smoothly and at its best. How to Install Nvidia Drivers on Fedora? Administrators must install and continuously update the proprietary Nvidia drivers because Fedora does not ship with them preinstalled.
In this guide, we’ll demonstrate both manual and third-party methods How to Install Nvidia Drivers on Fedora? A system running Fedora:
- An account with sudo privileges
- Access to the terminal window
RPM Fusion is used to install Nvidia drivers
You can automate the majority of the Nvidia driver installation procedure by using RPM Fusion.
Step 1: Enable RPM Fusion Repositories
1: Install the following updates on your Fedora system:
dnf update with sudo
When prompted, enter Y to acknowledge the update.
2: Upgrade your Fedora system to include the RPM Fusion repositories.
Option 1: is to add RPM repositories through the Terminal window.
Use the following commands in the terminal to add the RPM repositories. Use: To access free repositories.
Type Y and hit Enter to approve each installation when requested.
sudo dnf install https://download1.rpmfusion.org/free/fedora/rpmfusion-free-release-$(rpm -E %fedora).noarch.rp
For non-free repositories, use:
https://download1.rpmfusion.org/nonfree/fedora/rpmfusion-nonfree-release-$(rpm -E %fedora). noarch.rpm
Option 2: GUI-based addition of RPM repositories
The link to the free RPM repository package that corresponds to your Fedora version can be found by visiting the RPM Fusion Configuration page and scrolling down. In this illustration, Fedora 33 is used:
Open the link in Firefox by clicking it and choosing that option. To confirm, click OK.
To add the RPM repositories to your system, click the Install option in the Software Center. To continue with the installation, provide the administrator password when requested.
How to Install Nvidia Drivers on Fedora? For non-free RPM repositories, follow the procedure mentioned above.
Step 2: Detect Nvidia Card
To determine the GPU model in your system, use the lspci command:
grep VGA in lspci
In this illustration, we are setting up GeForce GTX 1060 GPU drivers.
Step 3: Install Nvidia Drivers
1: Use the proper command to install the relevant Nvidia drivers for your GPU model. Use: for current GeForce, Quadro, and Tesla models.
install akmod-nvidia with sudo dnf
Use the following for GeForce 400/500 model legacy drivers:
install-xorg-x11-drv-nvidia-390xx and akmod-nvidia-390xx with sudo
Use the following for GeForce 8/9/200/300 models’ legacy drivers:
Installing xorg-x11-drv-nvidia-340xx and akmod-nvidia-340xx with sudo dnf
To confirm the installation, enter Y and press Enter when prompted.
2: To make the installation effective, restart your computer:
sudo restart
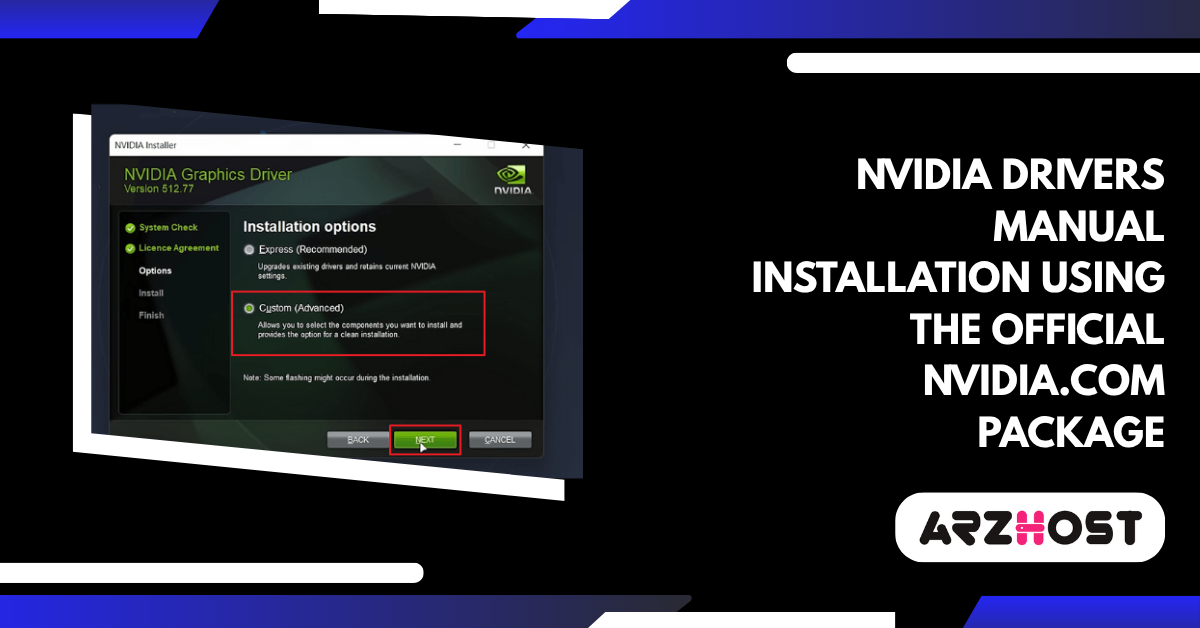
Nvidia Drivers Manual Installation Using the Official Nvidia.com Package

Compared to utilizing RPM Fusion, manually installing Nvidia drivers is more difficult and time-consuming. However, using this approach gives you more customization options and control over the drivers you install.
Step 1: identify the Nvidia card.
Find the GPU model with the lspci command:
grep VGA in lspci
Step 2: Download the Nvidia Driver
1: To find the correct driver for your GPU model, use the Nvidia driver search tool. From the drop-down choices, choose the series, model, and operating system. Since the alternative choice is for testing purposes, you should select Production Branch as your download type. To find the relevant driver, click Search.
In this case, we’re trying to get a 64-bit Linux driver for a GeForce GTX 1060 (Series 10).
2: To access the download page for the suggested driver, click the Download option.
To begin downloading, click the Download button on the new page.
3: After the download is complete, place the driver package in the Home directory to speed up the installation process.
4: Modify the permissions so the driver package may be executed:
[Path to driver package] chmod +x
In this illustration, we’re using:
NVIDIA Linux x86 64-470.74.run chmod +x
Step 3: Installing Driver Dependencies
1: Install the most recent version of Fedora on your computer by:
dnf update with sudo
When asked to confirm the update, press Y and then Enter.
2: To make the update effective, restart your computer:
sudo restart
3: Compile the necessary Nvidia driver dependencies by:
libglvnd-glx, libglvnd-opengl, libglvnd-devel, gcc, make dkms, sudo dnf install kernel-devel, kernel-headers, pkgconfig
When prompted, enter Y and then confirm the installation.
Step 4: Disable the default drivers
1: Make a new configuration file and open it. In this illustration, we’ll use nano:
/etc/modprobe. d/blacklist. Conf: sudo nano
2: Include the subsequent lines in the file:
list of no-go possibilities new modeset = 0
3: Press Ctrl+X, type Y, then hit Enter to save the changes and end nano.
4: Access the configuration file for the Grub loader:
nano /etc/default/grub with sudo
5: At the end of the line that begins with GRUB CMDLINE LINUX=, add rd. driver. Blacklist=nouveau. For illustration:
GRUB CMDLINE LINUX=
The command “rhgb silent rd. driver. Blacklist=nouveau”
6: To save changes and move on, click Crtl+X, then type Y and press Enter.
7: The Grub configuration file should be updated.
/boot/grub2/grub.cfg sudo grub2-mkconfig
8: Dispose of the Xorg x11 driver by using
uninstall xorg-x11-drv-nouveau with sudo dnf
To confirm, enter Y and then hit Enter.
9: Rebuild the kernel initramfs using:
sudo dracut --force /boot/initramfs-$(uname -r).img $(uname -r)
Step 5: Reboot to Multi-User Login
How to Install Nvidia Drivers on Fedora? To continue the installation, you must switch to a text-based login since the default GPU drivers have been disabled.
1: Make text-based, multi-user login possible by:
set-default multi-user. target in systemctl
2: In the security prompt, enter your administrator password and press Enter to confirm.
3: Restart your computer
sudo restart
Step 6: Install Nvidia drivers
1: Log in as the administrator after the system has restarted.
2: Use: to launch the installation procedure.
[Path to the Nvidia installer package] sudo bash
In our illustration, this is:
bash NVIDIA-Linux-470.74.run with sudo
3: Click Yes to register the kernel module with DKMS when prompted:
4: Choose Yes to install the 32-bit compatibility libraries from Nvidia:
5: Choose “Yes” to enable routine Xorg backups:
6: Click OK to continue after the installation is finished.
Step 7: Enable GUI
1: Restore the option to use a GUI like GNOME and enable the GUI login to launch the latest Nvidia drivers:
set-default graphical. Target in systemctl
2: Restart your computer to complete the installation.
sudo restart
Conclusion
How to Install Nvidia Drivers on Fedora? You must have Nvidia GPU drivers loaded and prepared to use with your Fedora system after completing this instruction.