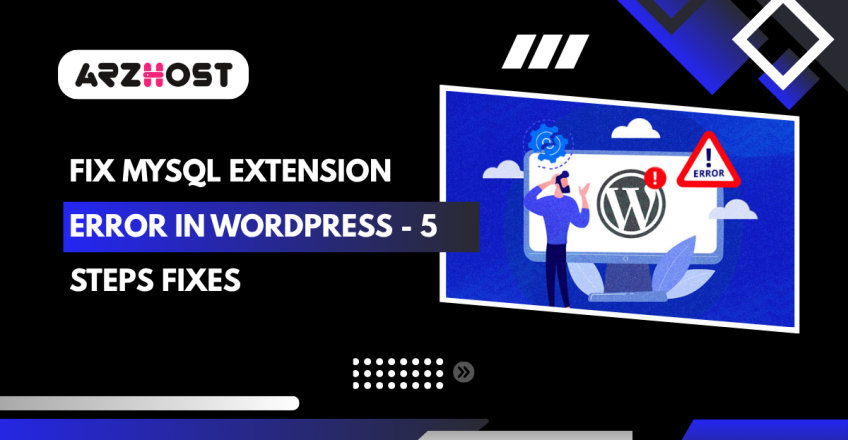
Your PHP installation hence, all in all, appears to be lacking the 5 Easy Steps to Fix MySQL Extension Error in WordPress. This is a complete frequent hassle if you are therefore putting up a WordPress CMS on the new and latest Linux VPS. The lacking the MySQL extension is much a regular hassle in view that the whole extension doesn’t come by default with so many different running systems. In this tutorial, we will be letting you know about how you can restore the trouble with the entire missing Steps to Fix MySQL Extension Error in WordPress, as well as the whole WordPress installation successfully.
Missing an essential PHP extension is hence no longer something that you need to be concerned about. If you eventually visit the following message on your display when attempting to access WordPress installation right through the internet browser, then you are somehow one of the few major WordPress customers who are also dealing with a similar problem.
7 Essential Ways to Fix MYXQL Extension which is required by WordPress
1: Connect SSH & Check the PHP Version
To fix up the issue, you should somehow have SSH access to the server. Connect it with your Linux VPS by SSH and yet check the PHP version which is currently being used:
“PHP – V”
2: Use of Info.php File
You can even choose to check the PHP version using making a straightforward info.php right into your public_html directory. This is all done through the following context:
“<?PHP phpinfo(); ?> “
When you make the file, open your preferred internet browser and access the document.
3: Update the necessary bundles
If in case you have been running an Ubuntu VPS and PHP 7, at that point run the following command:
Able-get update
able-get install php7.0-MySQL
4: Restart the Web Server
At that point, restart your Apache service for the progressions to produce results, or if you are using Nginx + PHP-FPM, at that point, restart the PHP-FPM service.
5: Updating PHP
If in the condition that you are running the PHP 5, run the below-mentioned command:
apt-get update
apt-get install PHP-MySQL
You have to restart the suitable set of services for all the chances to take upon into effect.
6: Searching available packages containing MySQL
PHP MySQL Extension
To look through all the available packages that are containing PHP MySQL extension, you can somehow utilize this command:
Adept-cache search MySQLThen once again, if you have been running a CentOS VPS and you have the PHP 7 installed right on your server, you have to use the below-mentioned command to deal with this issue:
yum update yum install php70w-MySQL
1: Restart Apache
Restart the Apache or even the PHP-FPM service inside the system, which you have been using as Nginx + PHP-FPM as being a web server. If you eventually have the PHP 5 installed on top of your CentOS server, you have to run the below-mentioned command:
yum update
yum install PHP-MySQL
Restart the necessary service for the sake of changes to take into the whole effect. To search out for all the available packages that are containing MySQL, you can hence use the below-mentioned command:
yum search MySQLOnce you have all installed the WordPress MySQL version extension for the PHP, you can easily make your way back to your whole WordPress setup. If the entire process of installation gets easy and smooth, the message related to the missing MySQL extension will not be presented in front of you. You can, later on, continue with the installation of your WordPress setup.
How can you easily fix the cPanel Server?

If you are on a cPanel server that you have root access to, you will need to enable and install the MySQL PHP module by the use of EasyApache four interfaces in your WHM. Here we have the step-by-step guide about it for your help:
Step 1: Log in to your WHM as root.
Step 2: Choose the option of “EasyApache 4”. You will see a web page below:
search-for-easyapache-4-option-in-Cpanel
Step 3: You will see a highlighted field “Currently Installed Packages,” click on the ‘customize’ button as proven below:
customize-easyapache4-options
Step 4: Once there, choose ‘PHP Extensions,’ and in the search field kind MySQL, you will see the MySQL options, as considered below:
Search-for-PHP-MySQL-extension
Step 5: Select the required mysqlnd extension as per your requirement of the PHP versions. You can truly pick the entire model that is displayed, and this will cause no problems.
Step 6: Once you have chosen the MySQL extensions there click on “Review,” scroll down and click on the “Provision” button, you will see the web page below:
cpane-easyapache-4-review-page
easyapache-4-provision
Step 7: Once finished, click on the done option and check your WordPress set up and the error should be gone.
Step by Step Guide to easily fix Shared Hosting

If you have eventually set up WordPress on top of the shared web hosting account, this error is yet most in all likelihood is being prompted through the use of MySQL extension is disabled on your web hosting account. To permit it, you have to follow the below-mentioned steps.
1: You have to sign in with the cPanel account.
2: Search for the option of “Select PHP Version” & then just click on it.
3: Once there, trade the PHP model to Current from the dropdown as mentioned below:
change-PHP-version-to-native
4: Once you have chosen the PHP version as current, tick on the alternative that says “MySQL” and/or “MySQL” from the choices introduced and click on save.CPanel-enable-PHP-MySQL-extension step 5: Check your WordPress set up and the error should be gone.
Step by step Guideline to fix on a CentOS Server
If you are somehow running your WordPress website on top of the CentOS VPS besides using any type of accessing the control panel, your first step needs to be all about checking the PHP model which you have been running.
# Hypertext Preprocessor -v
I Will display to you the PHP Version you are presently running. In our case, this is PHP 7.0. We want to set up the PHP-MySQL extension for PHP 7.0. We can do this by the use of the following command:
# yum update
# yum set up php70w-MySQL
Once installed, restart your internet server, for Apache, it is:
systemctl restart httpd
Or
service httpd restart
After restarting, your WordPress website has to work correctly.
Important Guidelines to Repair on an Ubuntu Server
If you are running your WordPress website online on an Ubuntu VPS except for any sort of control panel, your first step would be to take a look at the PHP version that you are running as mentioned below:
# personal home page -v
PHP-MySQL extension for Php 7.0
I Will display to you the PHP Version you are presently running. In our case, this is PHP 7.0. We want to install the PHP-MySQL extension for Php 7.0. We can do this the use of the following command:
apt-get update
apt-get set up php7.0-MySQL
Once installed, restart your internet server, for Apache, it is:
service httpd restart
After restarting, your WordPress web page must work properly.
Conclusion:
I hope this information will help you to get to the bottom of the trouble with your WordPress site! We have presented for you a complete guide of different methods to fix the MySQL extension, which is required by WordPress. Follow all the significant steps carefully one by one!